(Example used: 1975 Gottlieb Quick Draw) by cfh@provide.net, 02/22/08. Copyright 2008 all rights reserved. For hardcore pinball restorers only. This document is part of the Pinball Restoration document. Update of this document are available at http://pinrepair.com.
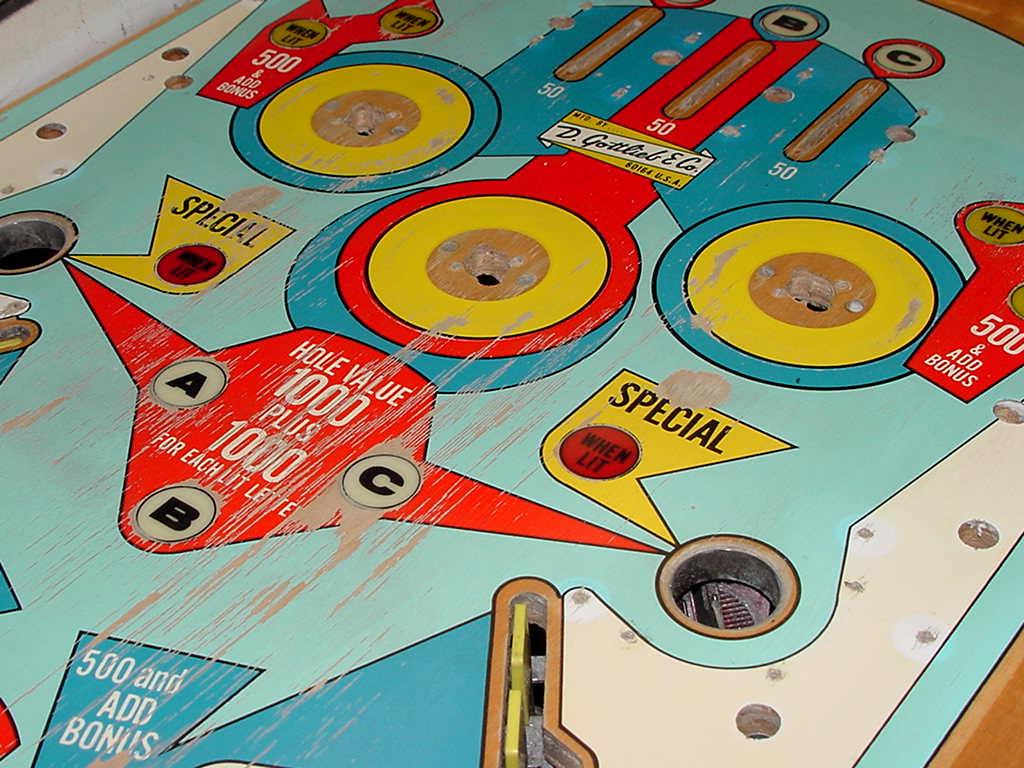
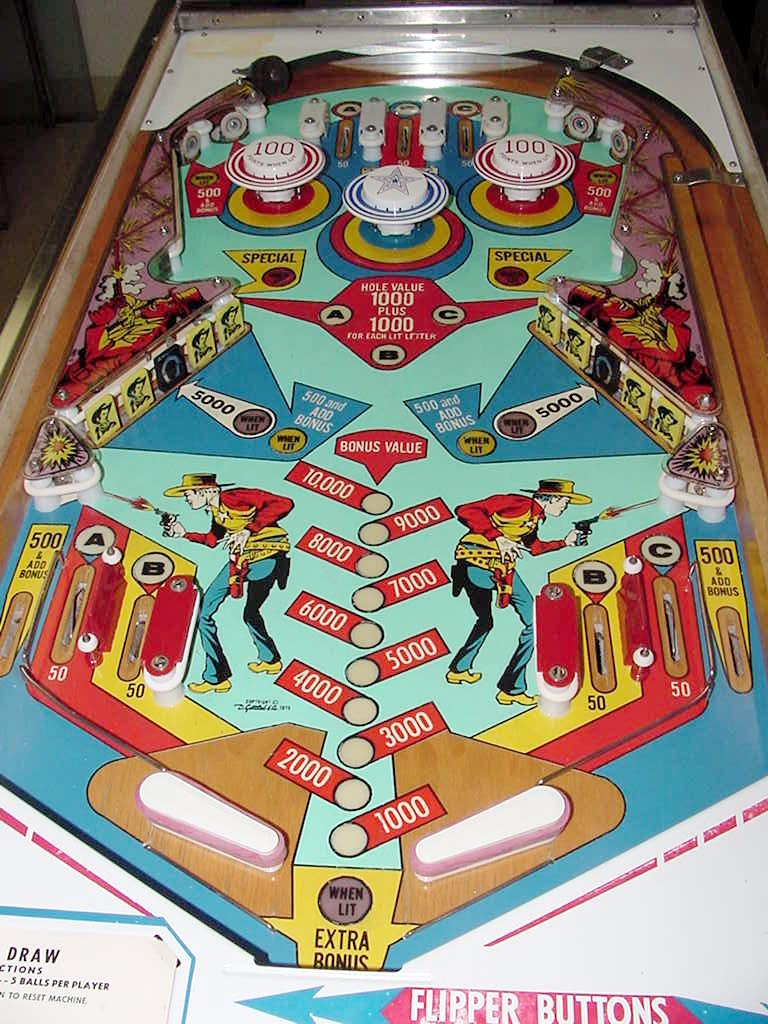
I bought this game from a guy in Ohio for $300. Normally I'm not much of a multi-player EM game guy (I like single player games like Gottlieb 2001). But of the Gottlieb multi-player games, Gottlieb Quick Draw/Fast Draw are pretty good games (Fastdraw is the same game as Quickdraw, just QuickDraw is 2 players, and FastDraw is 4 players). Anyway, the game was in very nice condition (especially the cabinet), but the playfield was trashed. This is typical of Quickdraw/Fastdraw, as it was a very popular pinball game back in the mid-to-late 1970s, and the two kickout holes and tight pop bumper nest makes for lots of ball wear. Luckily the wear was in the large painted areas, and not in the detailed areas. For example, the two 8" tall sheriff dude graphics on the playfield were pretty much intact. So that left large block areas of color that needed to be touched up. After this was done, the whole playfield could be clearcoated with auto urethane. For the purpose of this document, only the playfield paint restoration will be covered. Note this isn't the only way to do this, but in the end it worked out pretty well. My objective was to have a playfield that did not look like it was touched up and clearcoated (well, didn't scream it at least). This is unlike say the work that professional restorers do (like HSA and Playfield Renovations) - these just scream "clearcoated", a look which I really don't like, as it looks out of place and stupid on older EM games. The objective is to not make the playfield look "unnatural" in a 30+ year old game. Note the pictures are very big in this document, bigger than in the normal repair guides.
|
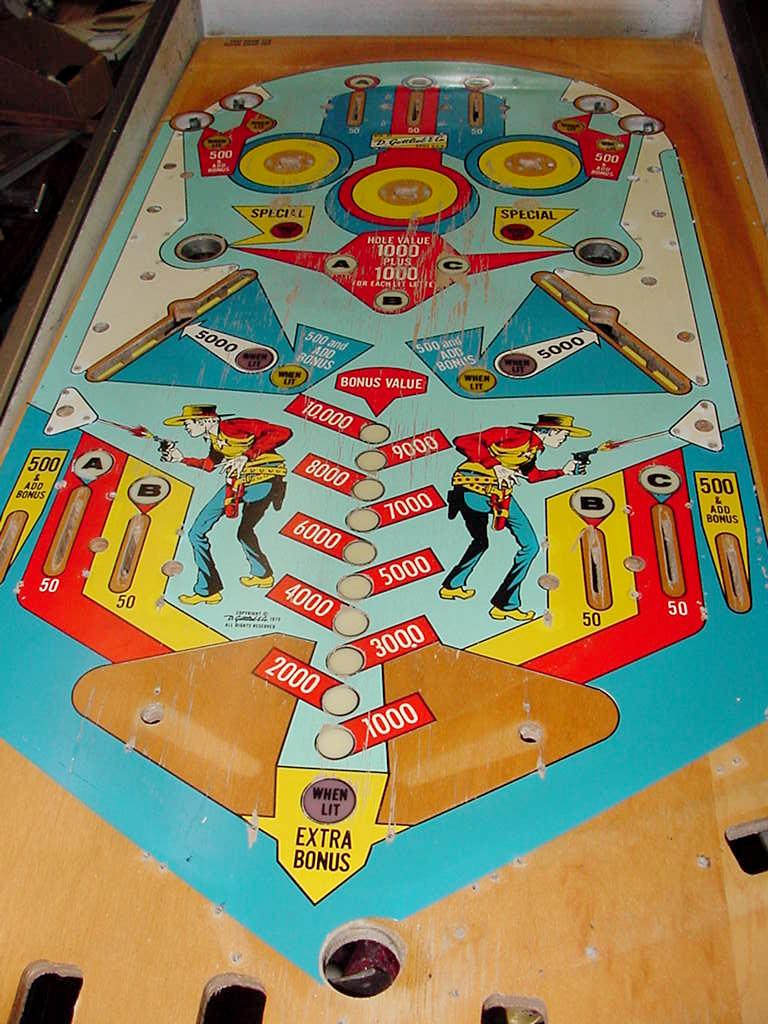
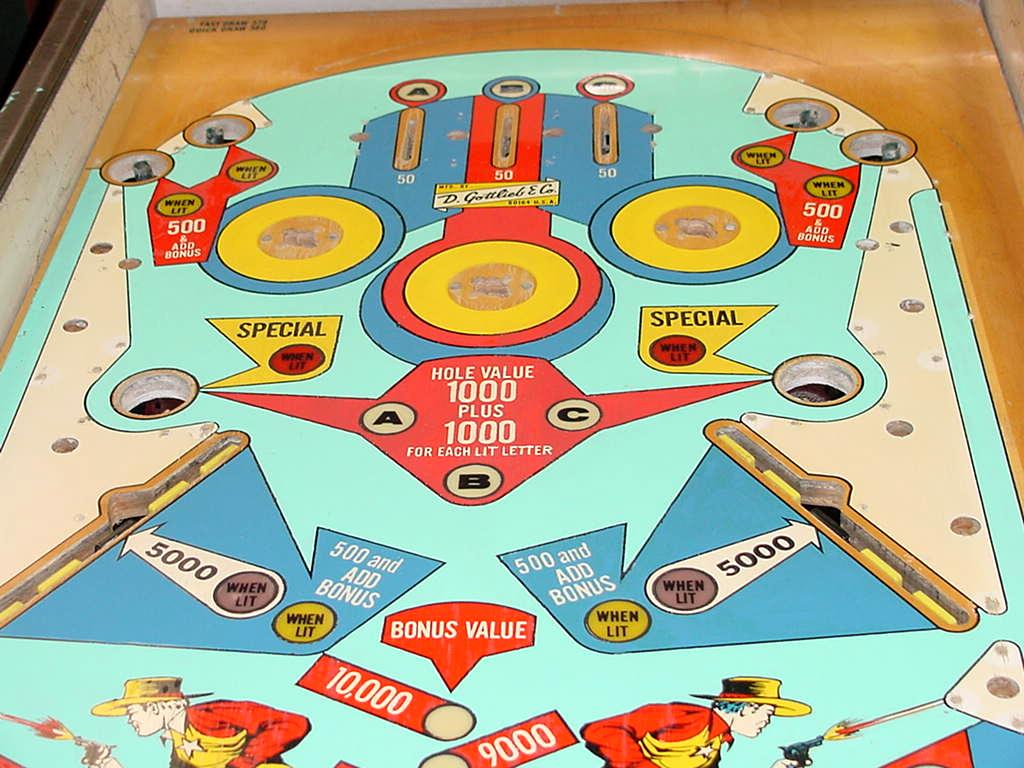
| Here's the playfield as I received it, minus the playfield parts. I removed all the plastics, posts, metal guides, flippers, pop bumpers, side rails, and other parts. The playfield needs to be completely free of all this, as it will only get in the way during the touchup and clearcoat process. |
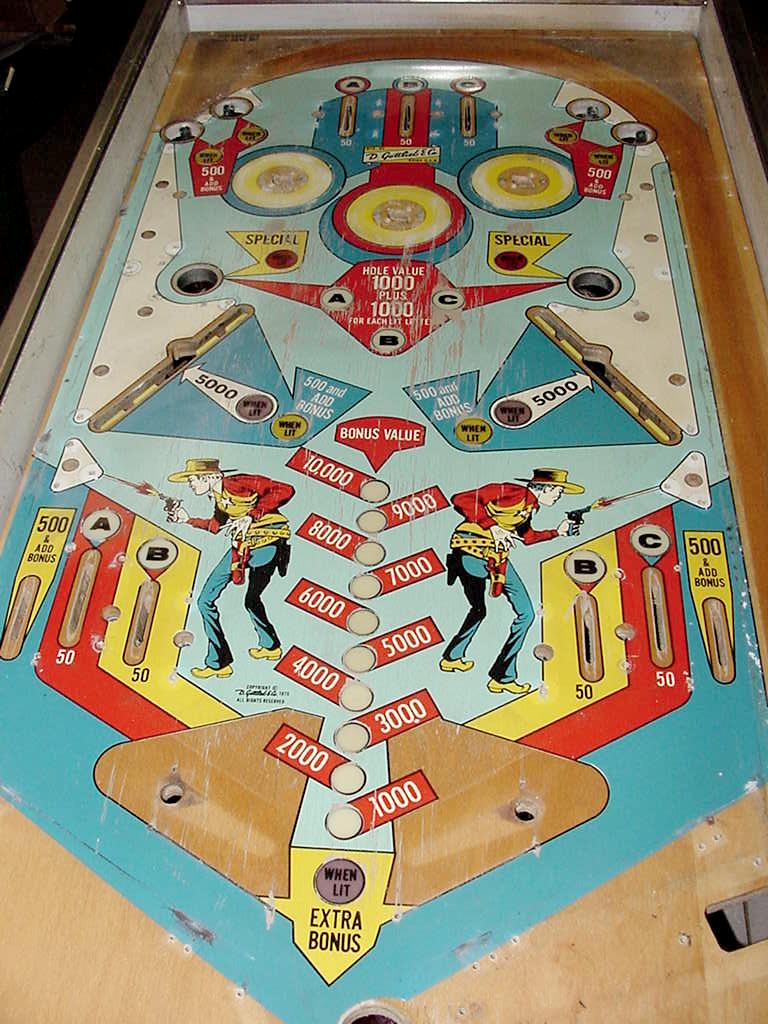
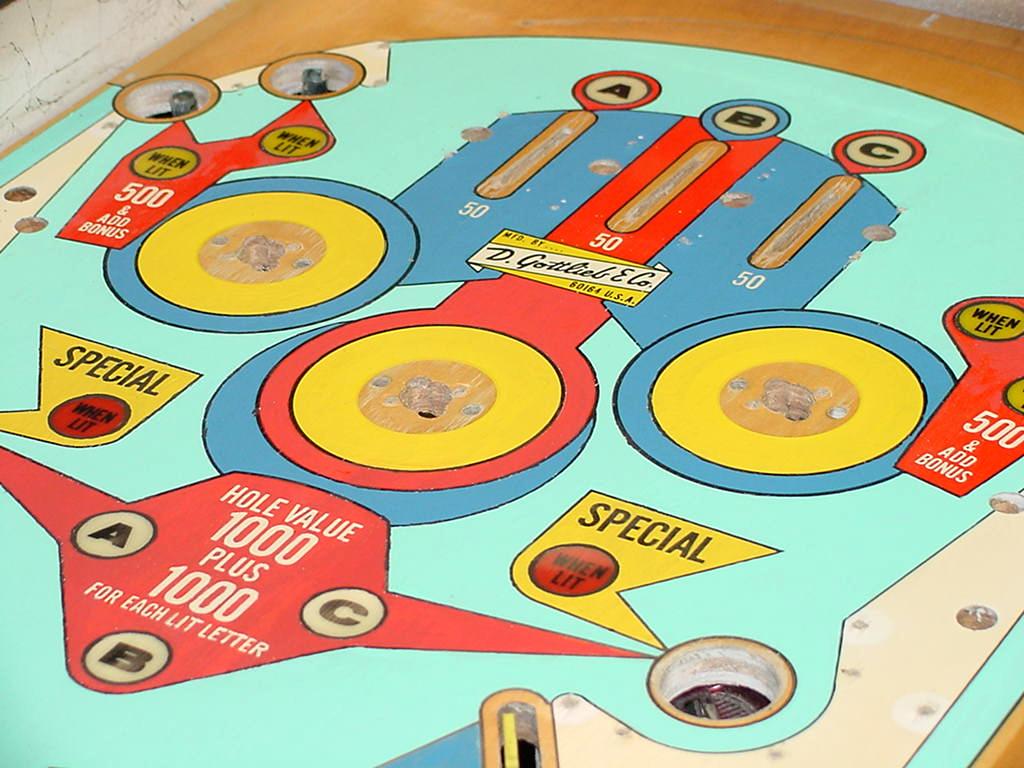
| The wear from the two kickout holes and in front of the pop bumpers can really be seen here. Also notice the "planking" on the playfield (the vertical grain lines that show through on really worn playfields). Planking happens a lot when playfields are cleaned with water based liquids, and the grain raises, leaving cracks in the finish. It also happens when the humidity swings from wet to dry (the wood expands/contracts due to humidity changes at a different rate than the lacquer playfield coating, which causes the cracking in the lacquer playfield finish.) Add to this some 68,000+ plays, and you get this kind of wear as the ball travels over the raised grain areas of the PF. |
|
Here I'm using Melamine Foam (Magic Eraser) and 92% rubbing alcohol to clean the playfield. This will also remove a lot of the contaminants from prior playfield waxing and cleaning. It also will get out the deep dirt. Just note though that it's very easy to remove what little playfield paint is left with the Melamine foam. (Go easy and slow.) The white haze left from the Melamine foam will clean off in the next step. |
|
Now Naptha is used to clean off the Melamine foam's white haze. It also helps clean off any old wax and contaminants, so the Naptha cleaning serves a dual purpose. Next I use Novus2 to really clean the playfield. This is purely optional though, as it really gives the playfield too much gloss for good touchup paint adhesion. But I like to do this because it gives me a better idea of how much paint work the playfield is really going to need. To me, the playfield is almost usable without any touchups, if you can get past the planking and kickout hole wear by the pop bumpers. Note I don't use 600 grit sandpaper on the playfield before touchups. Heck this playfield has enough paint loss, I don't want to add any more! But the real reason I don't use the 600 grit is I find it easier to touchup a Novus2'ed playfield (with slight gloss), rather than a playfield that is dull - it's just easier for me to see the playfield defects. |
|
Now I can start the playfield touchups. Normally you should start "inside and work out" (start in the inside most touchups, like the yellow interior pop bumper rings). But for some reason I did just the opposite and worked "outside in"! (Not recommended.) There are a couple ways to do this touch up. I just repainted the entire area with a (close) matching color. Otherwise it's too hard to match to color and texture. This method is used by most "wholesale" playfield touchup services, as it provides a good outcome without spending a lot of time doing color matches. It makes the whole area consistent too. But the downside is now a lot of (if not the entire) playfield will be repainted, and is really not original. Shown below is half of the aqua-blue part of the playfield repainted. I'm using Americana craft acrylic water-based color paints with a paint brush to apply the color. Remember to always paint *with* the grain of the wood. This way brush marks and other inconsistencies are minimized. |
|
Here's the playfield areas all touched up. I just did each color (aqua, blue, yellow, black, off-white, etc). I did not repaint the entire red area. I should have though, as the red area right in front of the pop bumpers would have looked better. The text lettering is the hardest to deal with. Use other text on the playfield to help draw-in missing text. I use a pencil to rough-in the text letters, and then paint them with black. Finally use an exacto knife to remove any "over-painting", and to make the text letter's edges nice and straight. On the yellow and red colors, I should have painted these areas first with white paint, and then painted the yellow and red over the white. This is a good idea because yellow and red pigments aren't as strong as I would like in these acrlyic paints, and they don't cover the underlying finish very well. |
| Another thing I considered doing was repainting the natural wood area around the flippers with brown wood colored paint. I generally HATE doing that though, as it looks very fake to me. It would have hid the discoloring of the old clearcoat underneath the flipper bats. But again, that's a HSA or PFrenovations trick, and one that I personally feel is a bad thing to do (I just don't like that look). |

|
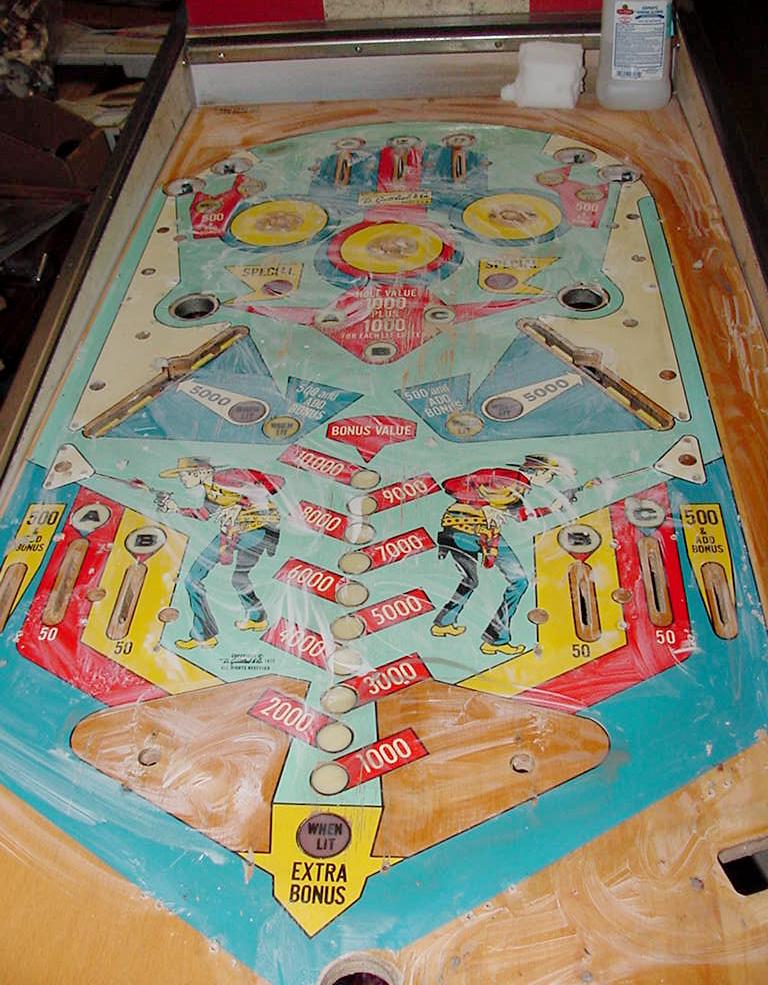
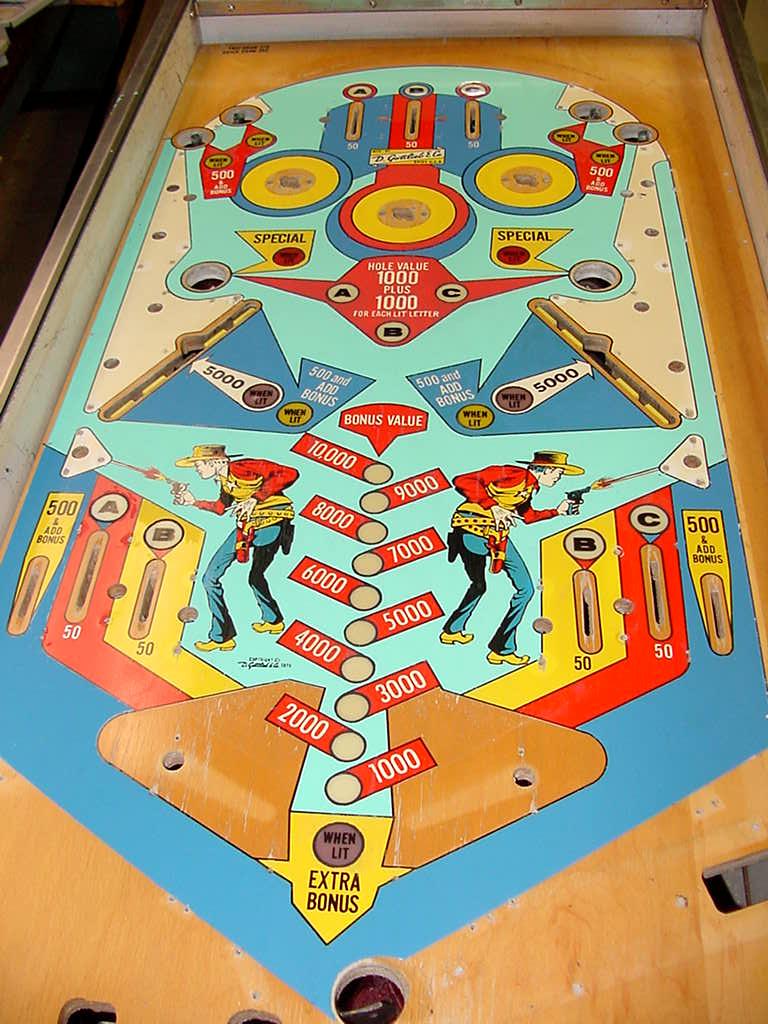
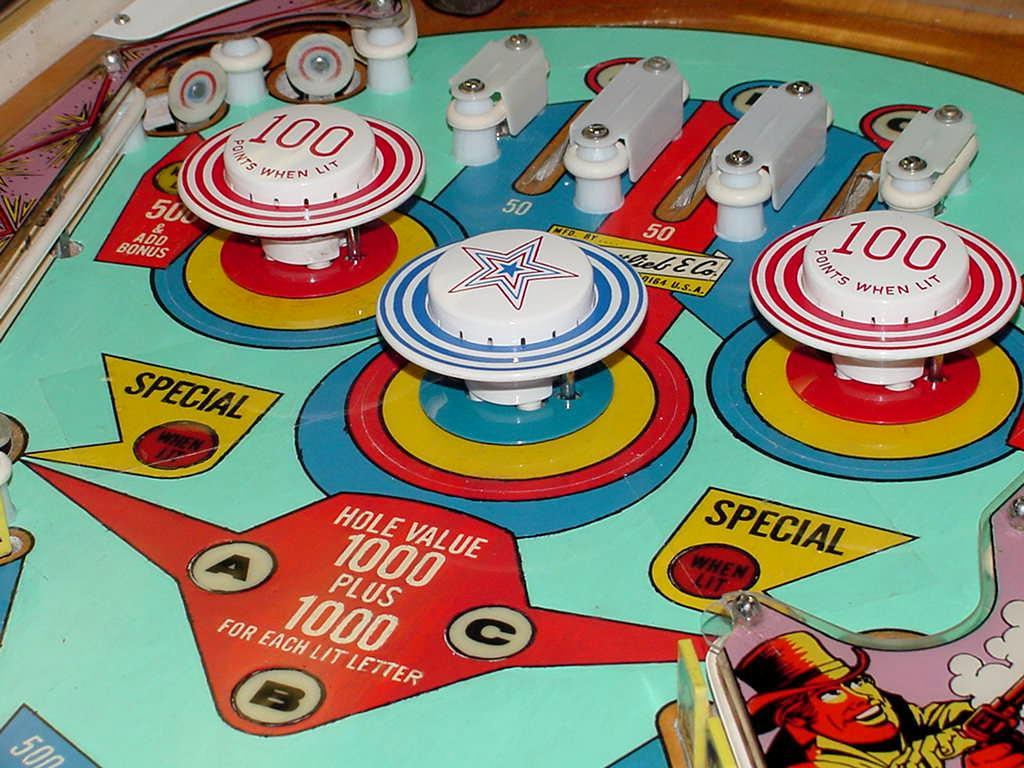
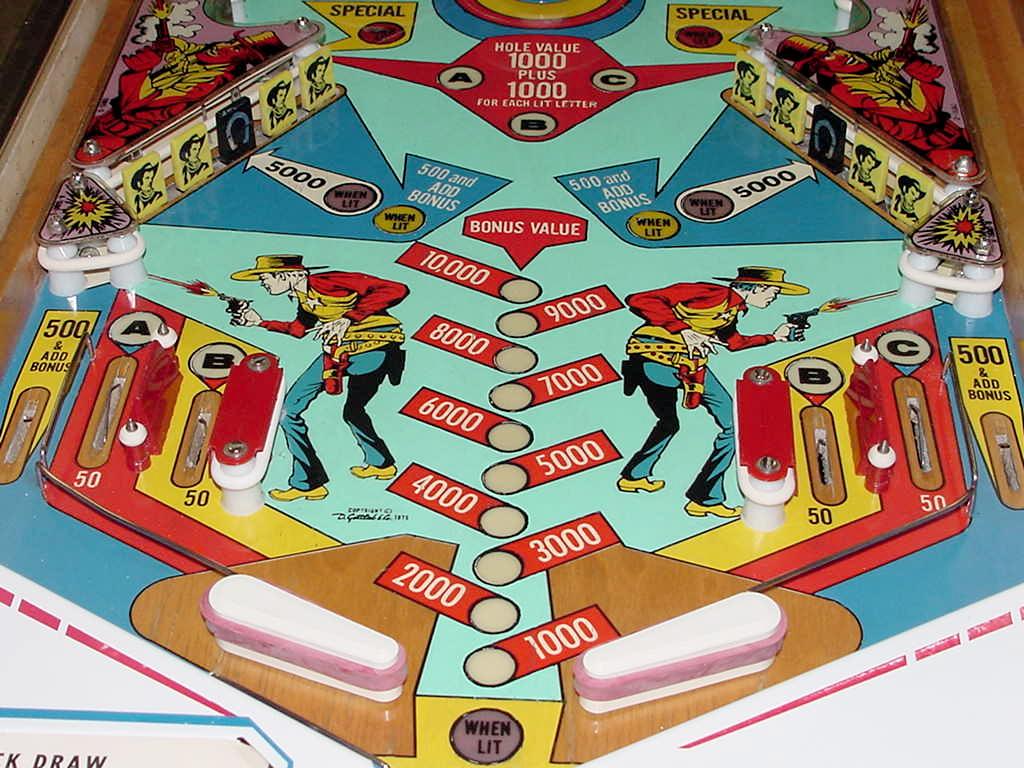
Here's the playfield after the automotive Urethane clear was applied, and all the playfield parts re-assembled. I sprayed four coats of clear, and then used an electric DA sander with 600 grit wet/dry paper to smooth out the finish. Then I hand sanded with 1200 and then 2000 grit. Finally I rubbed out the playfield with Novus2. It came out pretty good, but not perfect. The planking is still a bit noticable in some areas. I could have gotten this playfield perfectly mirror-flat by using another 2 to 4 coats of clear, with sanding between every two coats. But frankly I don't like that look, as it makes the playfield look like it was touched-up and clearcoated. I try and keep the clearcoat as thin as possible. |
| In front of the kickout holes I added mylar to prevent future playfield wear. Yes the new clearcoat is very hard, but the ball will start to wear this area again, so hence the mylar. I also used clear adhesive mylar trim rings around the pop bumpers to prevent ball wear. I should have made the kickout hole mylars football-shaped (this would have made them less noticible). |
|
Conclusion. Overall I was pretty happy with the outcome of the Gottlieb Quickdraw pinball playfield. Though not a perfect job, it was satisfying. And the game play is very good, as the playfield surface is very smooth (no more Planking!) Actually, this game plays like a rocket now (maybe too fast, as I have already broken a drop target). More information on clearcoating can be seen in the "This Old Pinball" videos TOP #1,3,4,7. This shows the whole procedure of touching up and clearcoating a pinball playfields. Also see Pinball Restoration Guide, part two and the Gottlieb 2001 playfield restoration web page for more info.
* Go to Pin Fix-It Index |