|
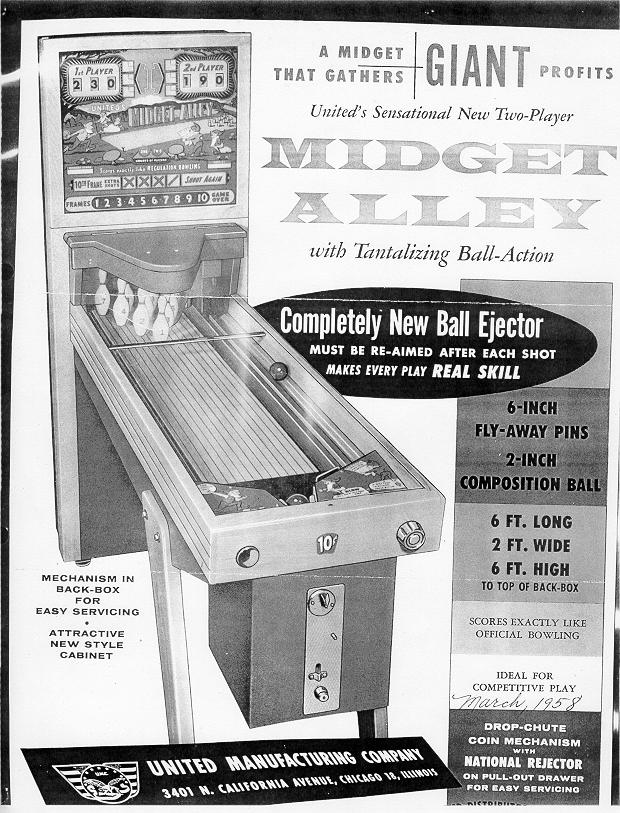
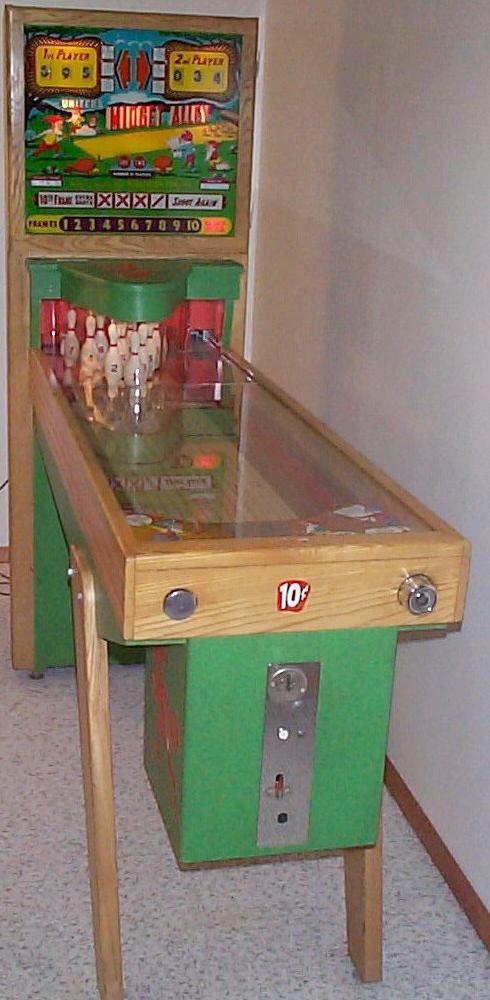
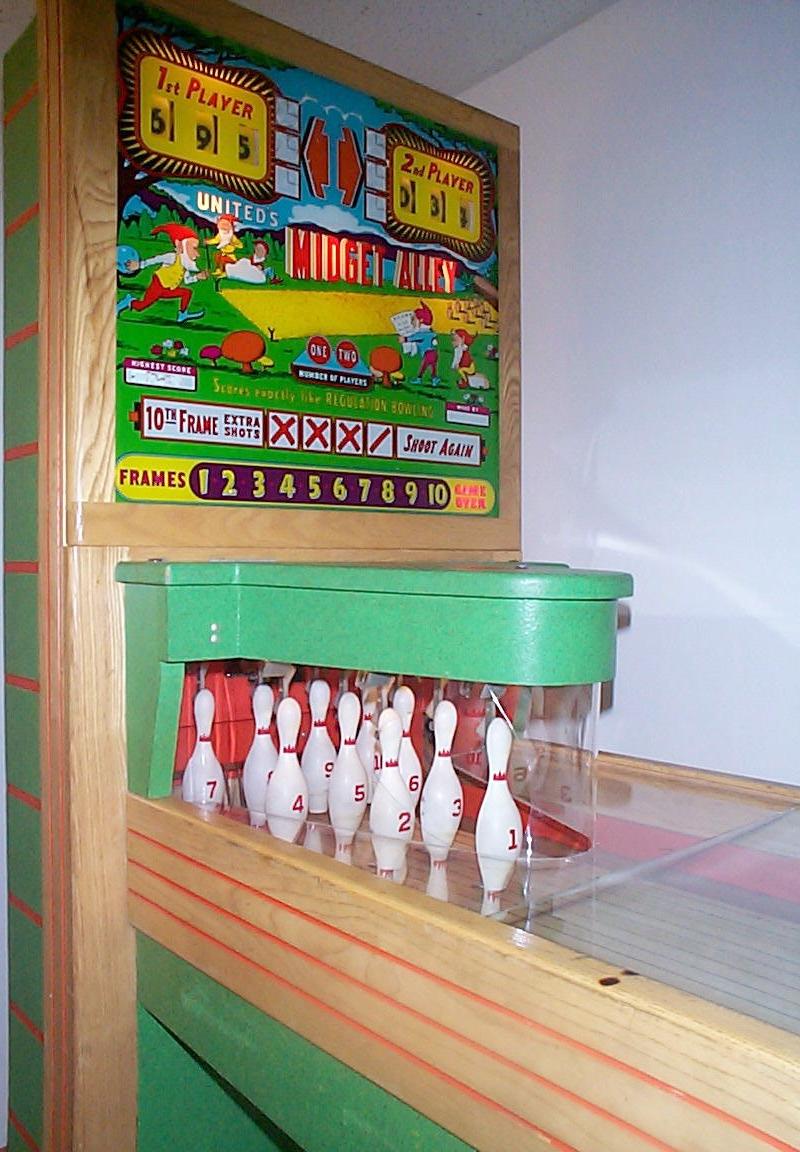
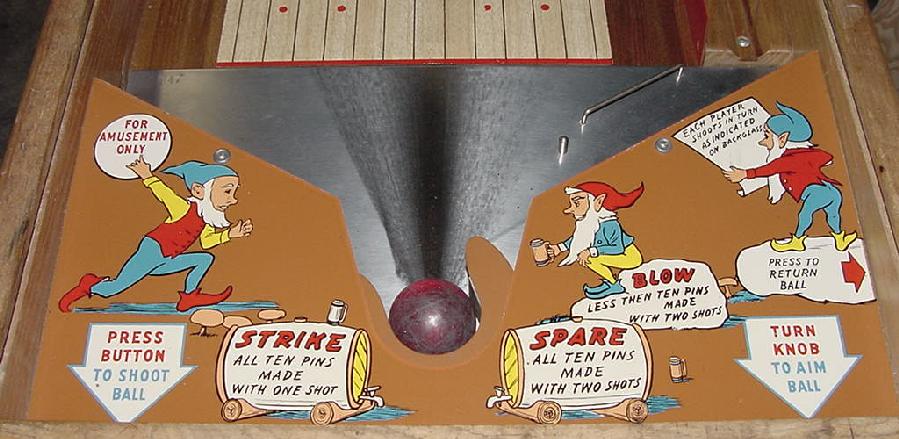
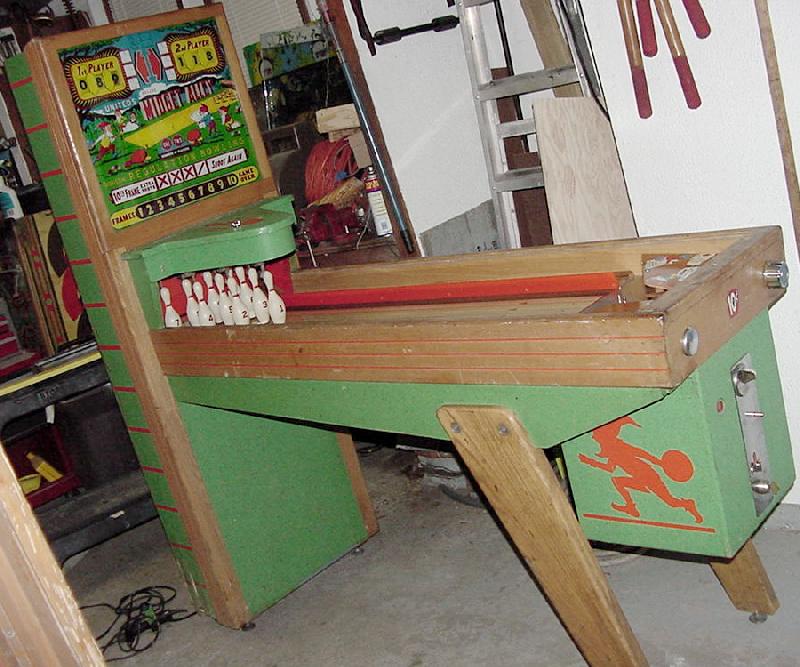
Description: Midget Alley, United, 3/58, a spin and release style bowler with a turret style aimable sight, 6" pins, two 2" balls, 6 foot long, two players. When the ball is delivered to the turret, an A.C. motor underneath the ball turns on and spins the ball at high speed (3400 rpm, 120 volts). Once the player aims the shot, they press a button on the front of the game. This converts the power to the motor from A.C. to D.C., which makes the motor stop on a dime! This kicks the ball out of the turret, and the spinning motion of the ball propels it down the lane hitting the 6" pins. Very cool! A similar idea was used in the 1939 Bally Bally Alley. Also Bally's 1958 All-Star Bowler is rather similar to this game. (Though the aimming concept and ball propelling is different. Also in my opinion, Midget Alley is way more fun that All-Star Bowler too, because the player actually aims the ball in Midget Alley, instead of timing their shot.) The pins used in this game have an overhead "feedback" switch system. That is, there are *no* lane switches. The ball must actually hit the pin in question, which closes the overhead switch, which in turns retracts the pin using a relay coil. Now there are some "cheat" pins. That is, if the player hits pin #1 and #5 and pin #2 or #3, and the ball hits two switches behind all the pins (mounted on the backdoor), all pins retract and a strike is registered (this is the same technique used in ball bowlers and shuffle alleys). The bell in the game rings only on a strike or spare. In addition, there's a motor connected to the ball aimer ("knob") which moves (9 rpm, 50 volts) anytime the score motor moves (basically between frames and players). This prevents a patron from finding the strike "sweat spot", and just locking in and getting numerous strikes. The ball lift and ball return is the same as used in United's big ball bowlers, but in miniature. Since the game uses two balls, as soon as the first ball is aimed and shot, the second ball is immediately delivered to the player to complete the frame. This makes for very little "down time" between shots/frames. If for some reason the ball is not delivered to the player, there is a button on the side which the player can press to force feed a ball. Midget Alley came in both a "replay" and a "novelty" version. The novelty version has no way to win a free game. The backglass is slightly different on the novelty version too, as there are no translucent "match" lamp numbers in the yellow grass alley on the backglass. Also the words "Regulation Bowling" are not translucent on the novelty version. But the replay backglass, when not lit, looks identical (though there is a small "Deluxe" making it "Deluxe Midget Alley"). So a replay version of the backglass could be used in a novelty Midget Alley (but not vice versa, without losing the replay backglass light features). The easiest way to tell the two versions apart is this: the Replay version has a red "start" button to the left of the coin door, where the Novelty version does not. On the replay version of Midget Alley, there are several ways to win a free game. There is a high score replay (220, 240 or 260 points), a last score digit match, and a "carry over" feature. Every time there is a match, another letter of "Regulation Bowling" (or just "Regulation", operator selectible) is spelled out on the backglass. Once spelled out, a free game is awarded. Note there is no credit unit on the game, but up to two free games can be accumulated at a time via a pair of latch relays. The free games are shown with two backglass "Play Again" lamps (one for each of the two players). If the second player matches, their "Play Again" lamp lights (likewise for the first player). Simply put, this game is incredible. First, it's made like all United bowler, built like a tank! (It's really made to last.) Second, the game play is absolutely a blast! Some people complain the ball goes sparatically down the lane and is not very aimable. The problem here is this: the lane is dirty, and/or the two 2" balls need to be replaced. Using new balls makes all the difference in this game (new balls are available, see the Bowler Index for information on buying those). The original balls will surely be all nicked up and possibly not even round, which will make them difficult to aim. Watch some MOVIES of Midget Alley in action by clicking here (1.3meg) and here (1.3meg). Midget Alley has a termpered top lane glass of 43" x 19 1/16" x 3/16". (Actually it's probably 19" not 19 1/16". But on the two Midget Alleys I have personally owned, I found the 19" width to be just a hair too narrow, and the glass wanted to snigle out of the side slots. This may have happened because over time, the cabinet got 'loose' from moving the game, and the slot width because slightly wider.) The glass covers the alley lane closest to the player. Where the glass ends there is a metal transition strip, and then the rest of the lane around the pins is covered with a clear acrylic (plexiglass) plastic hood. This plastic is cut out for the pins, and has a perpendicular curved piece (same shape as the pin hood) that makes pins untouchable to the player (prevents cheating!) The raw dimensions of the plastic hood is 16" x 19 1/16" x 1/8" (though I increased the thickness to 3/16", the same thickness as the glass it mates to). The perpendicular curved plastic piece (before curved and glued into place) is 36" x 6 3/8" x 1/16" (.060"). This plastic lane hood can be made, but the difficult part is heat bending the 36" x 6 3/8" x 1/16" plexiglass piece. Lexan could be used instead and "cold bent", but it would be difficult to keep it's shape while gluing it to the 1/8" thick (or 3/16") base. Lexan (polycarbonite) can not be easily heat bent, as Lexan bubbles very easily with heat (unlike plexiglass which heat bends easily without damage). The best way to make the hood is to create some wood forms. I used 1/2" plywood and a ball bearing router bit. Using the original 1/8" plexiglass base, the ball bearing runs on the plexiglass, while cutting the 1/2" plywood clamped to it. This creates an exact wood form of the 1/8" plastic base. After this is done, the cutout from the plywood is traced onto another piece of 1/2" plywood and cut with a saber saw. So now there is a "female" and a "male" form. Using these two pieces of wood, the 1/16" plexiglass can be formed with a heat gun. It works very well. But here's a tip; don't use 1/16" (.060") plexiglass, instead use .090" plexi. This slightly thicker plexiglass is easier to bend, is more substantial, and just sturdier. Because of the increased thickness, the plastic looks less "wavy" around the bends. After the curved plexiglass is made, the same "female" wood form and the same ball bearing router bit can be used to make the 1/8" (or 3/16") plexiglass base. This time the ball bearing rides on the wood form, while cutting the plexiglass clamped to it. Again, I recommend using the 3/16" plexi instead of the original 1/8" thick material. It's just sturdier, and there is increased surface area for the glue joint to the curved plastic. After all plastic pieces are made, glue them together using a good quality, water thin Super Glue. If any mistakes are made (scratches, Super Glue runs, etc.), use a furniture scraper to remove any high spots. Then follow up with 600 grit wet/dry sandpaper. After this, use a propane torch and gently heat the scratches. Amazingly, they will completely disappear!
|
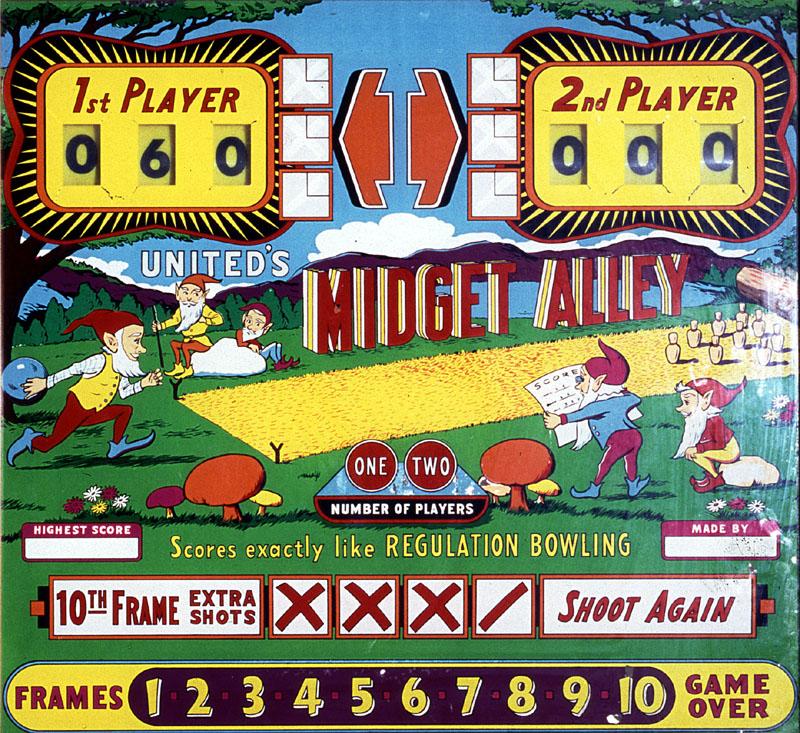
The backglass below is the Novelty version.
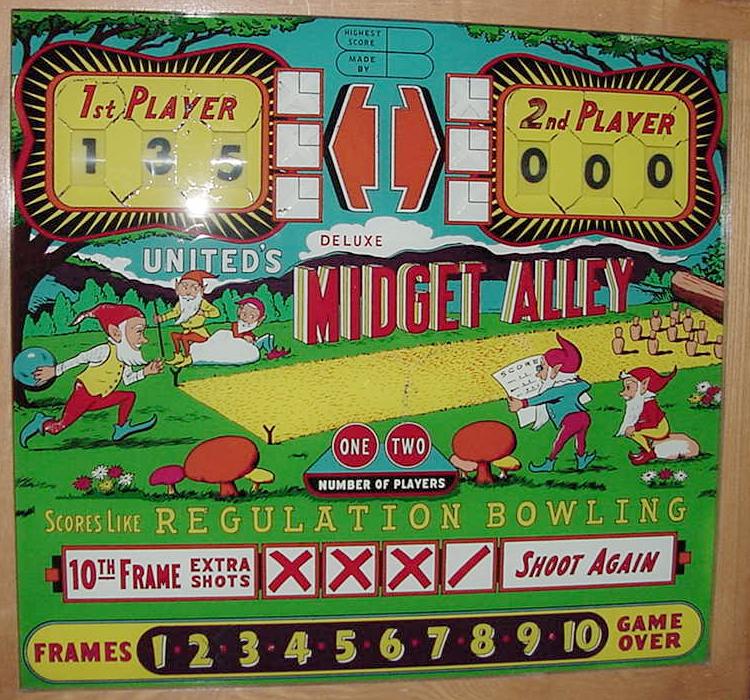
The backglass below is the Replay Deluxe Midget Alley version.
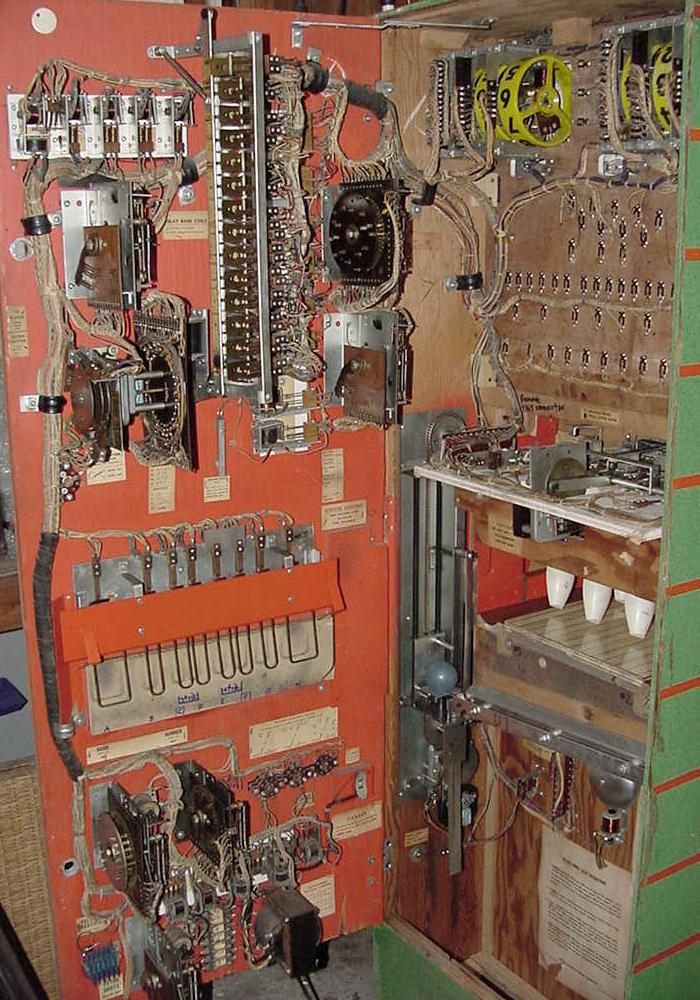
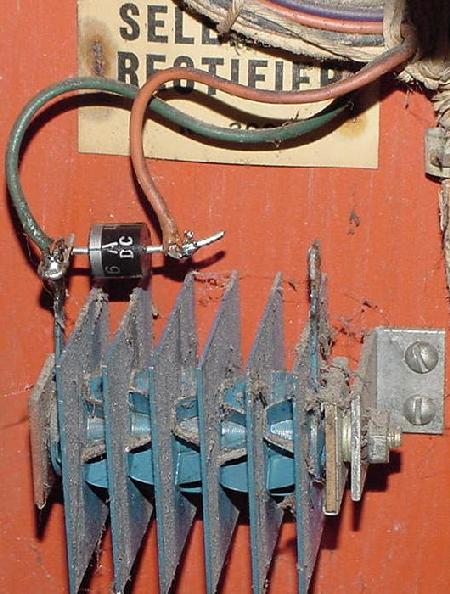
Here's the Selenium Rectifier used in Midget Alley. These loose their effectiveness,
and should be replaced with a silicon diode (6A4, which is 6 amps 400 volts).
This will help the ball shoot down the alley better.
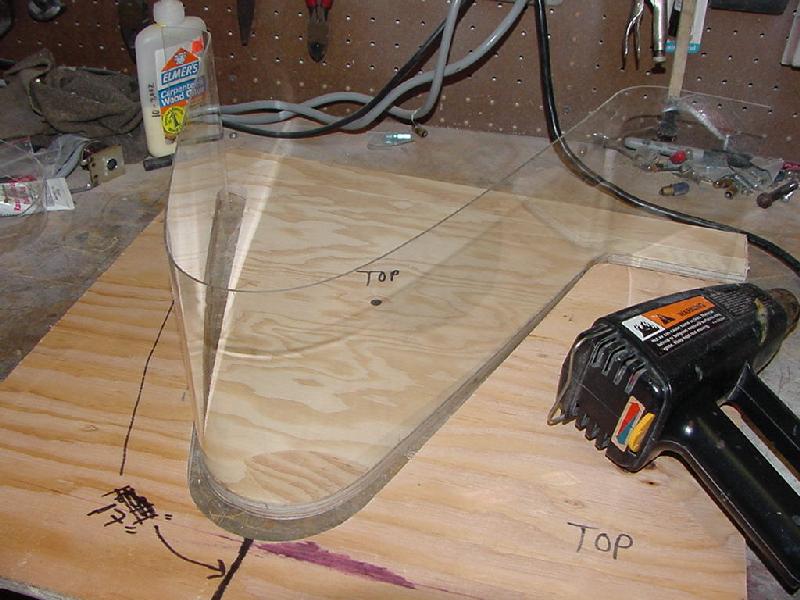
Below are the wood forms used to create a new 1/16" thick curved plexiglass for the
lane/pin hood. Note the "male" form is screwed to the wood bench. A heat gun is
used to heat the plastic. Then the "female" form to be pushed against the plastic
and male form to create the curve.
|
* Email the collector cfh@provide.net * Go to the CoinOp Bowing History index * Go to the Pinball Repair/History index |