(Example used: 1977 Gottlieb JetSpin) by cfh@provide.net, 03/18/09. Copyright 2009 all rights reserved. For hardcore pinball restorers only. This document is part of the Pinball Restoration document. Update of this document are available at http://pinrepair.com.
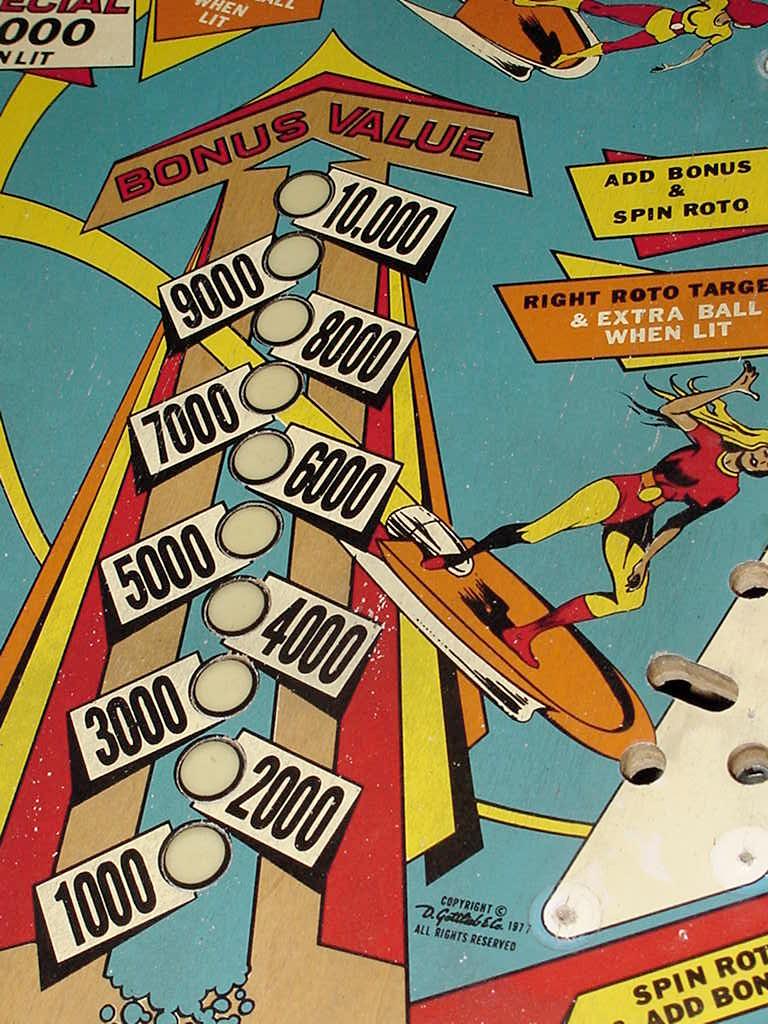
One thing that moved me towards doing this was a recent repair of a Jet Spin. Though it wasn't a restoration, it did give me a good glimpse of the game play. It frankly surprized me a bit. The one thing I really liked about the game was the left side 3000/5000 point shot. Not such an easy shot to make. Though it's just one shot on the game (there isn't a ton to shoot for), it really made me want to make my Jet Spin the best it could be.
Scope.
|
|
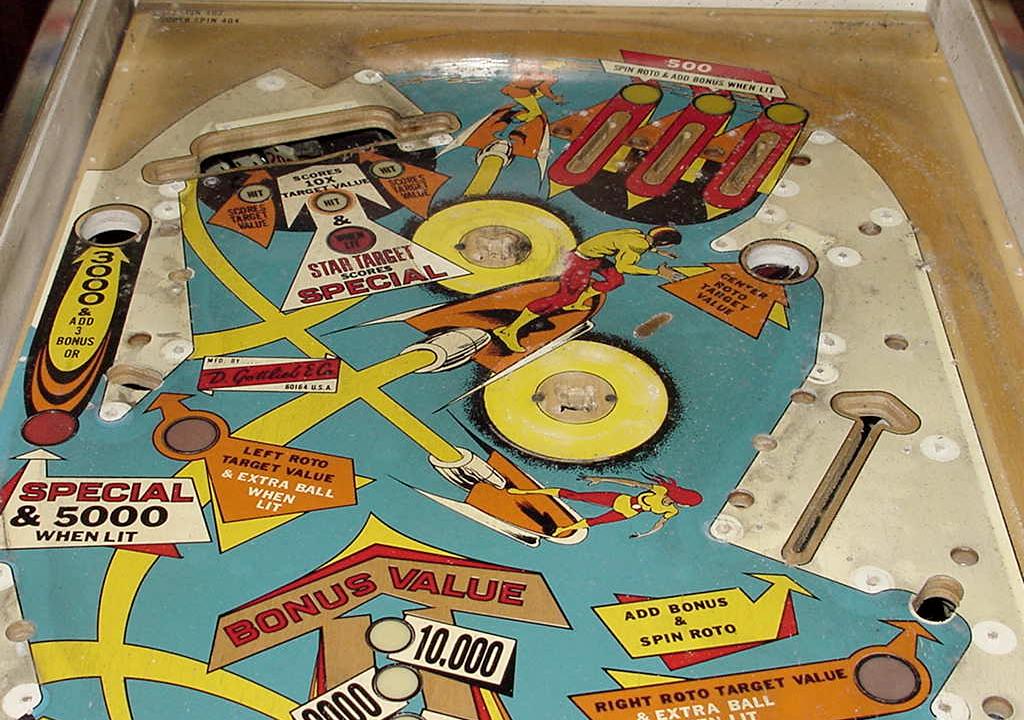
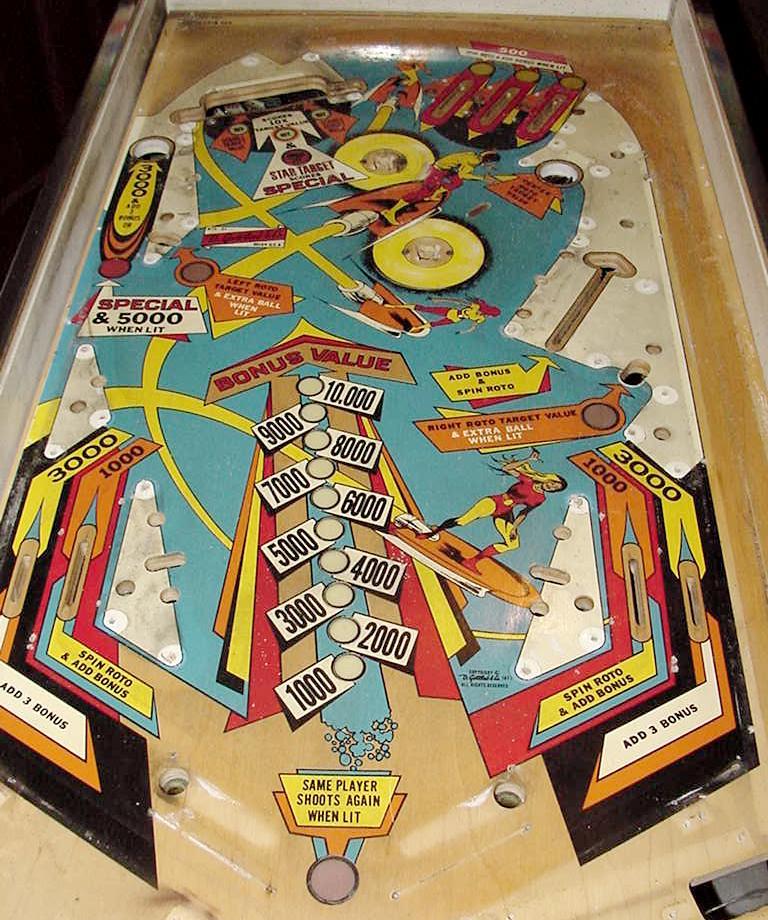
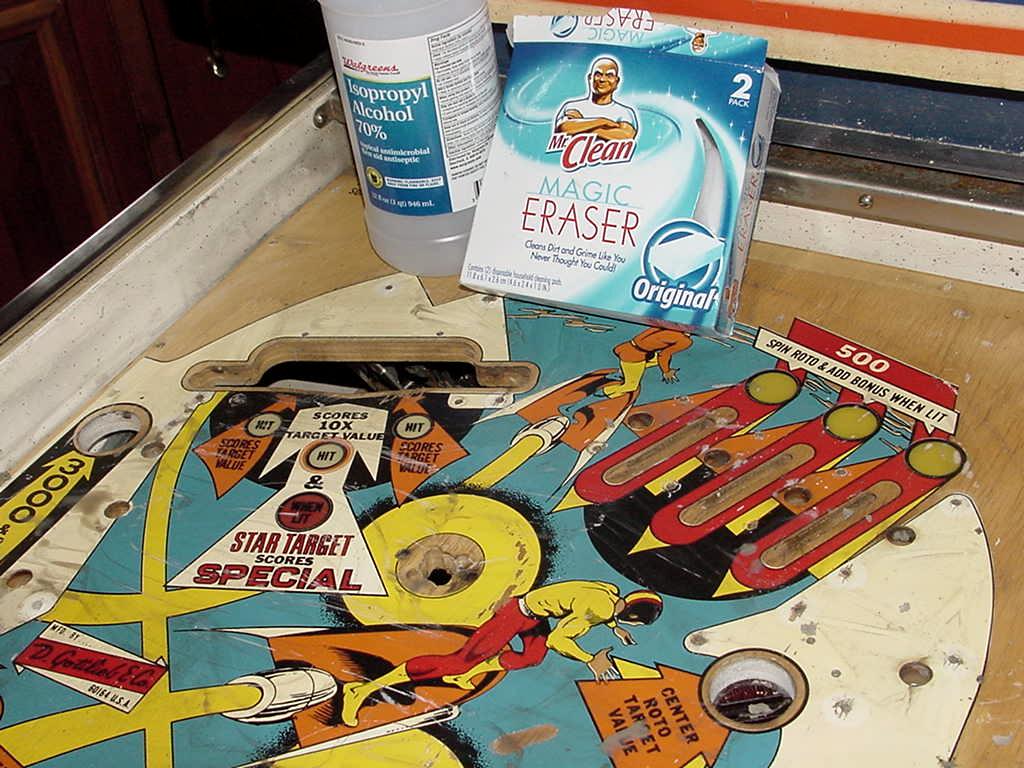
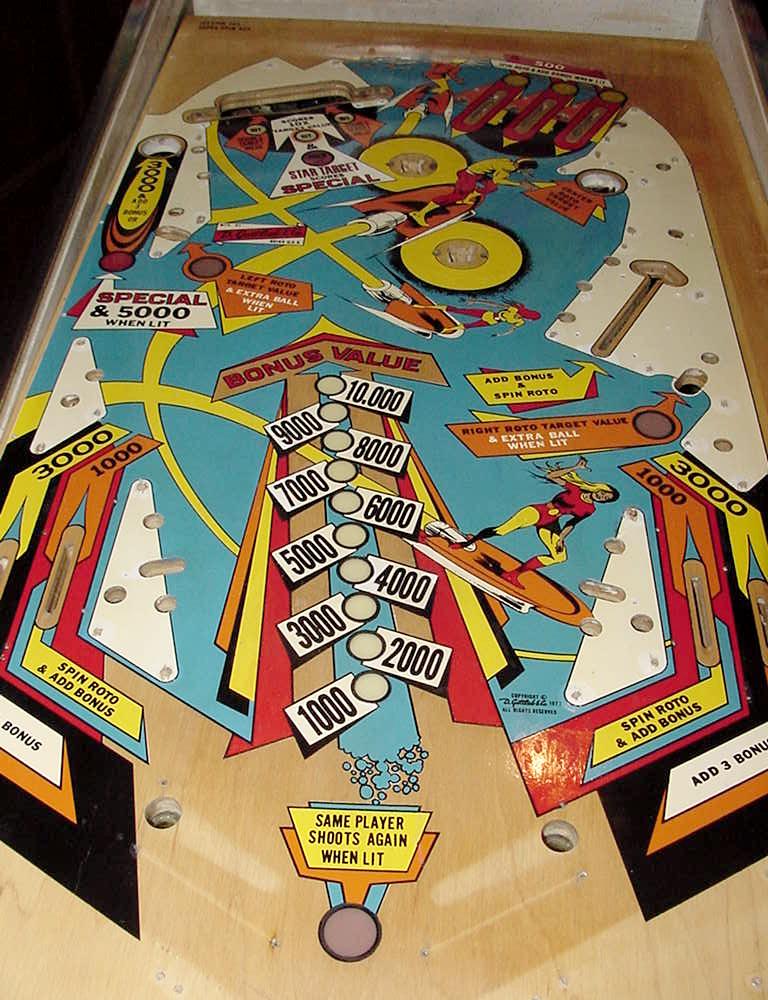
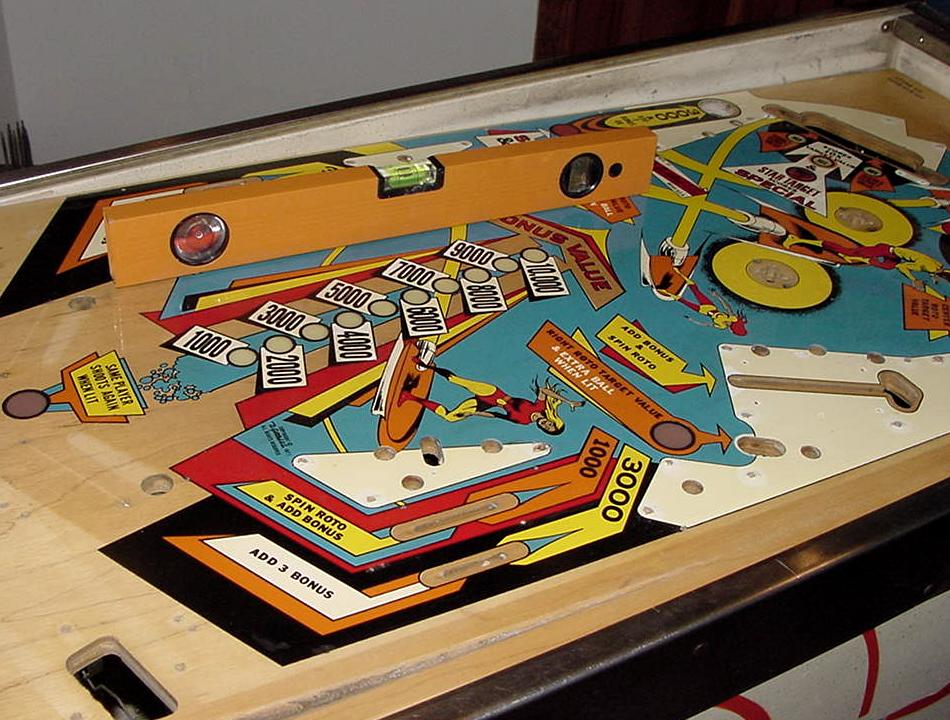
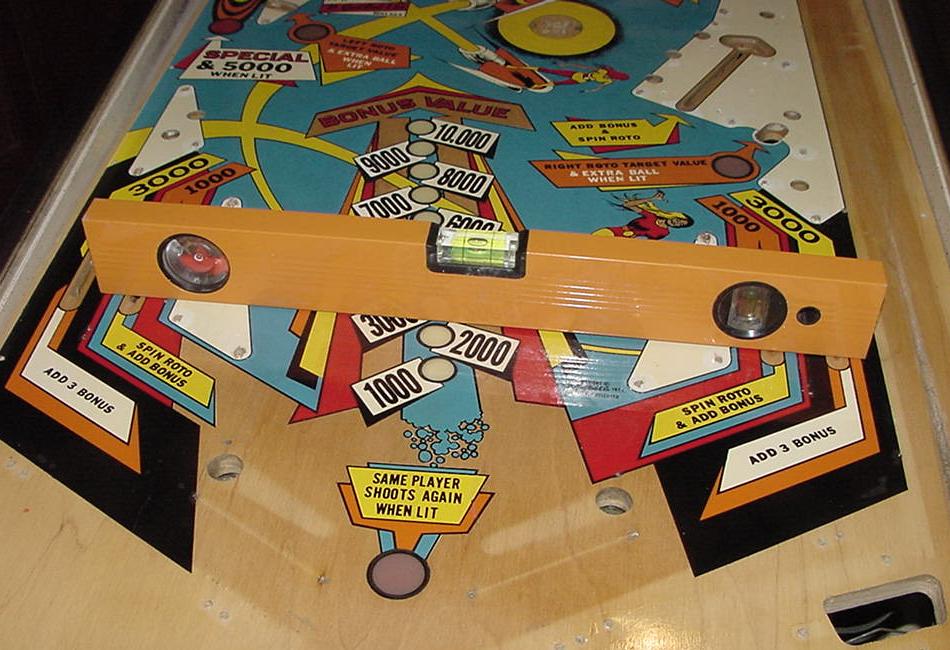
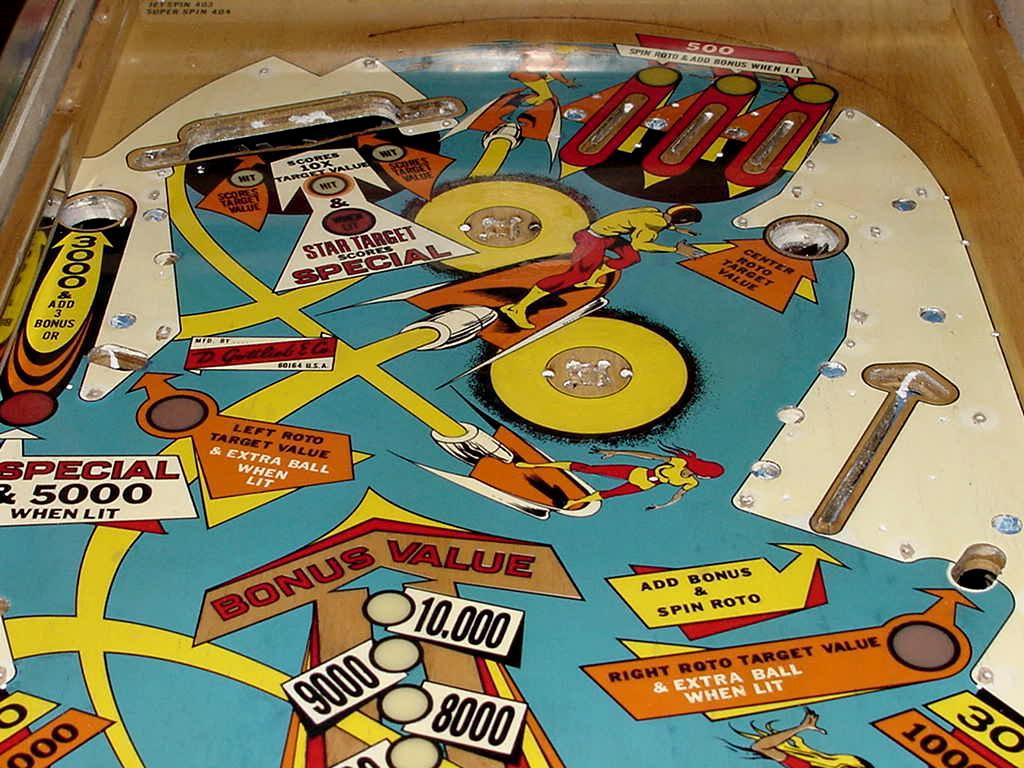
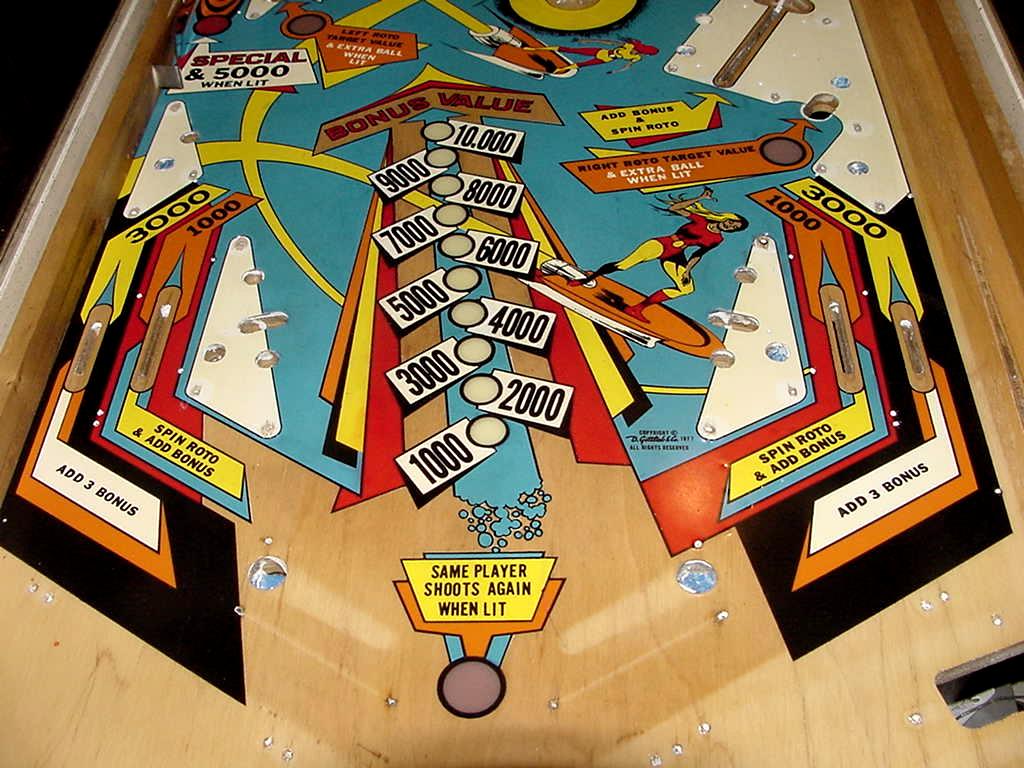
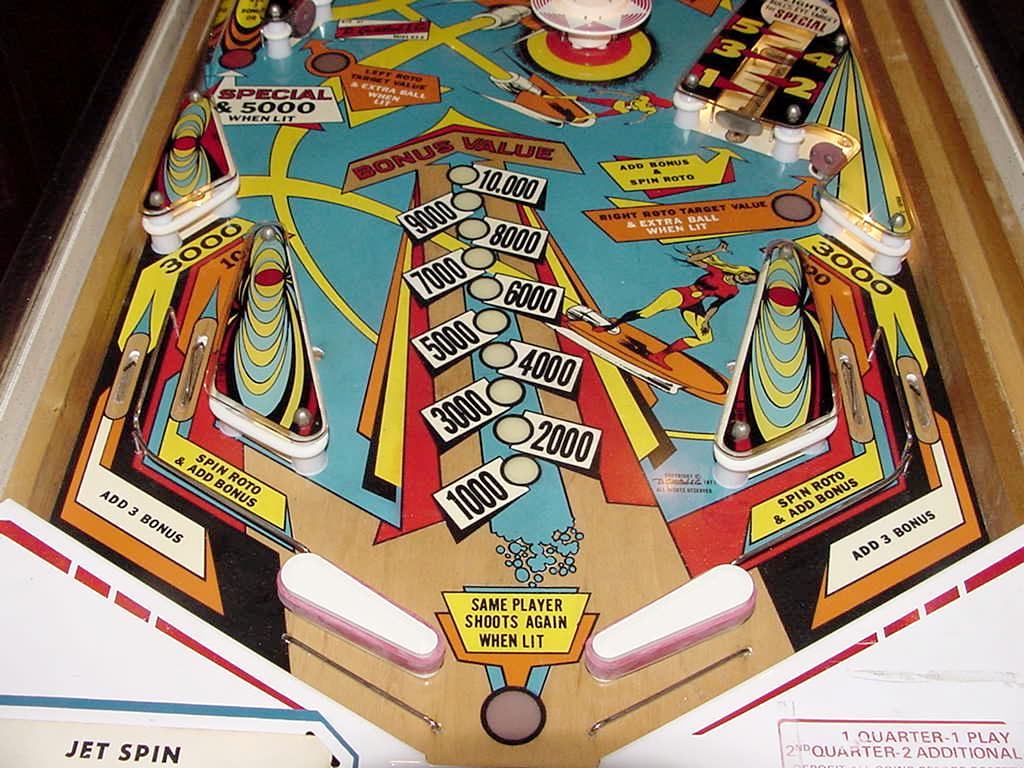
Getting Started. Here's the playfield as I received it, minus the playfield parts. I removed all the plastics, posts, metal guides, flippers, pop bumpers, side rails, and other parts. The playfield needs to be completely free of all this, as it will only get in the way during the touchup and clearcoat process. The idea is to clean what's left of the playfield, and evaluate what needs to be done to make it more "presentable". There was not a ton of wear on this playfield. The majority of the wear was under the pop bumper mylar rings (man do I hate those things). Dirt gets under the rings, and the ball beats the dirt into the playfield causing this wear. It's probably better than no mylar rings though. Also the kick out hole has an almond-shaped wear spot. There's other miscellaneous wear in small spots around the playfield. |
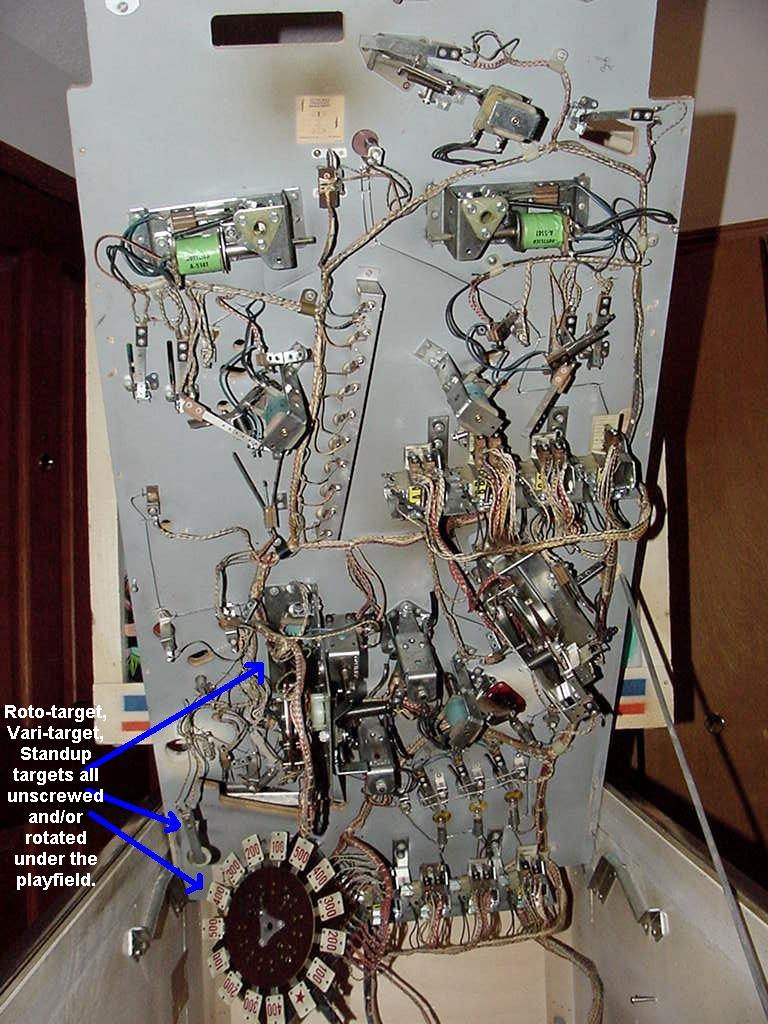
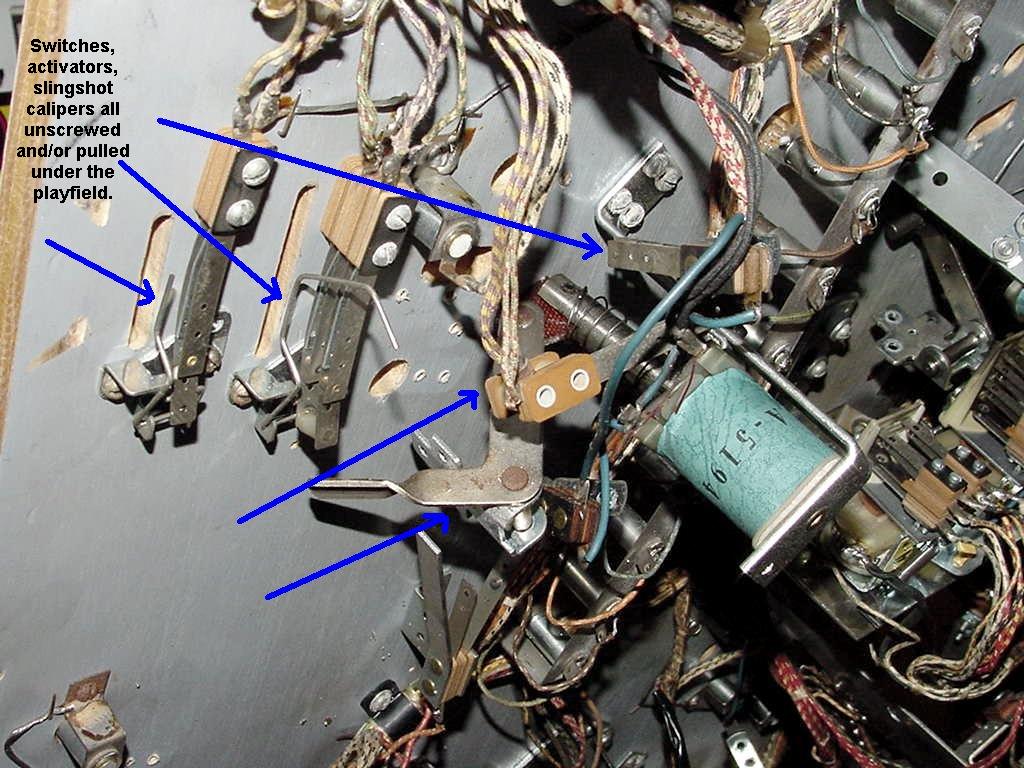
| To back up a bit, below are the pictures of the underside of the playfield. The roto-target and vari-target had to be swung out of the way to clear the top side of the playfield. Also all the switch activators are cleared out of the way, and targets unbolted and pulled under the playfield. All other parts are not removed from under the playfield unless it's easy and they are really in the way. |
|
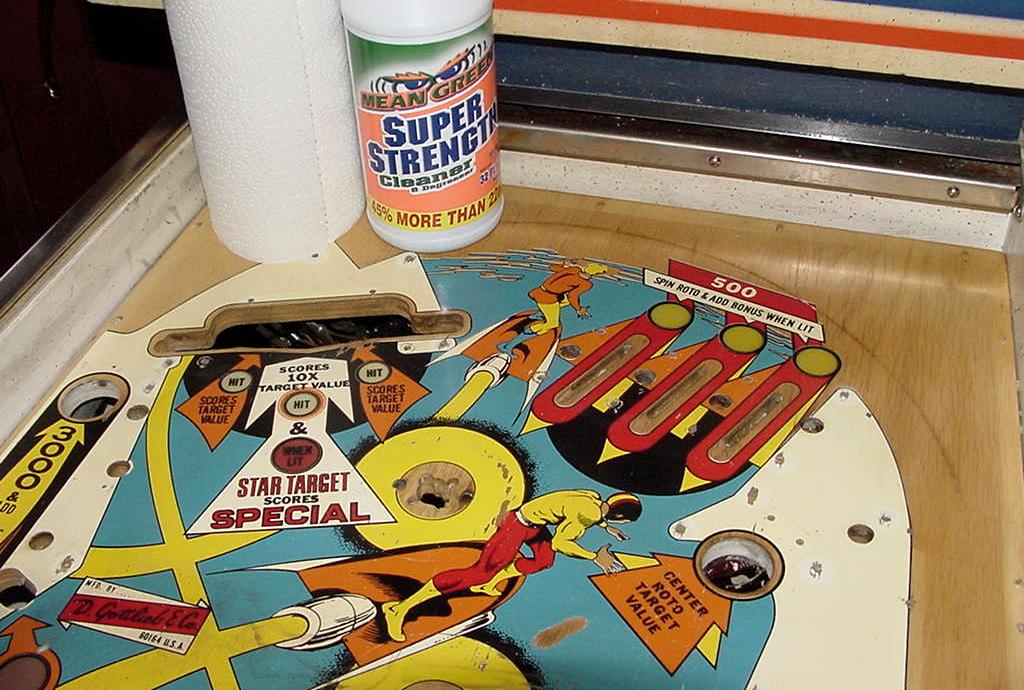
Initial Playfield Cleaning. First step is the clean the playfield. My plan was to use Magic Eraser (Melamine foam) and alcohol as the wetting agent. But the problem I was having was the playfield was so dirty, that the Magic Erase would just loosen the dirt, and then the alcohol would dry, and the dirt was now difficult to remove. It was somewhat of an endless cycle. Sometimes I use Naptha (lighter fluid) to remove the dirt after the Melamine foam, but that didn't seem to be working very well. |
| So what I did was something that was a bit dramatic. And that was to spray the playfield with Mean Green to remove the initial layer of dirt. I also used Mean Green after the Magic Eraser to clean up. This made me a bit nervous because it's so water-like, and generally you don't want to do this on a playfield (for fear or raising the grain of the playfield, and crazing the finish). But in this case, it worked amazingly well. |
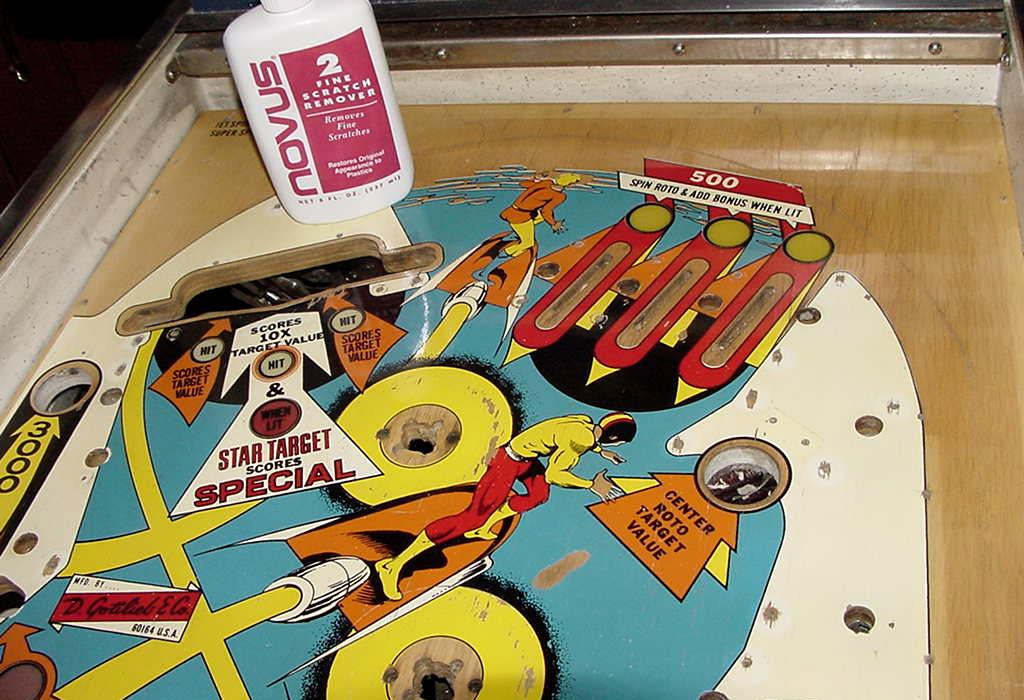
| Lastly I used Novus2 to finish the playfield clean up. Now I could really see what I was up against with the playfield. Maybe I don't need to touch up the playfield? Maybe it's good enough... |
|
Touching Up the Playfield. I decided since I went this far, I might as well just touchup the playfield and clearcoat it. It's not that much work, and the playfield is already all apart. So why not do it. Below are the colors I used for the touchup. |
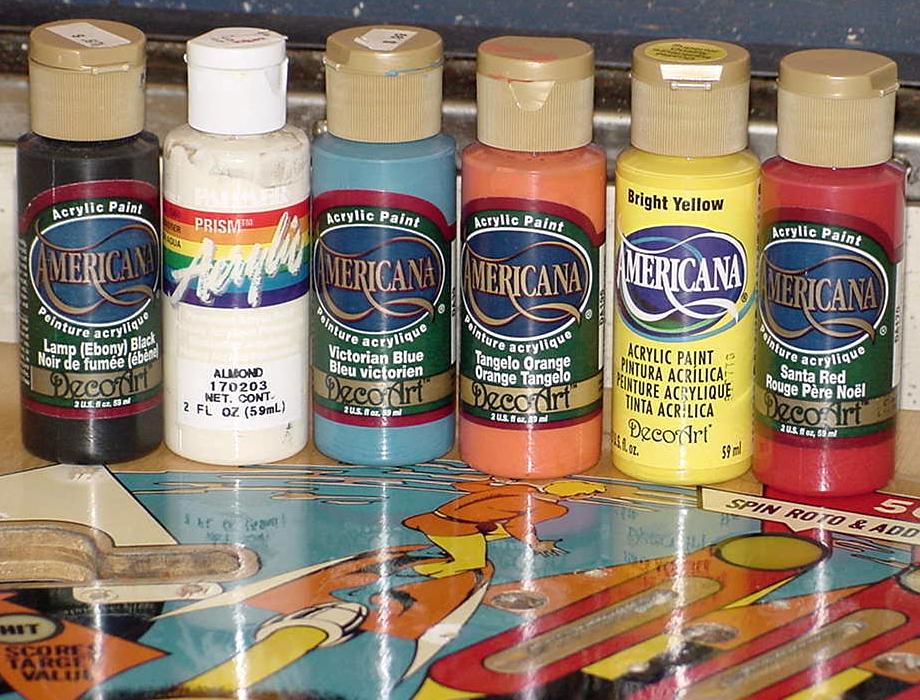
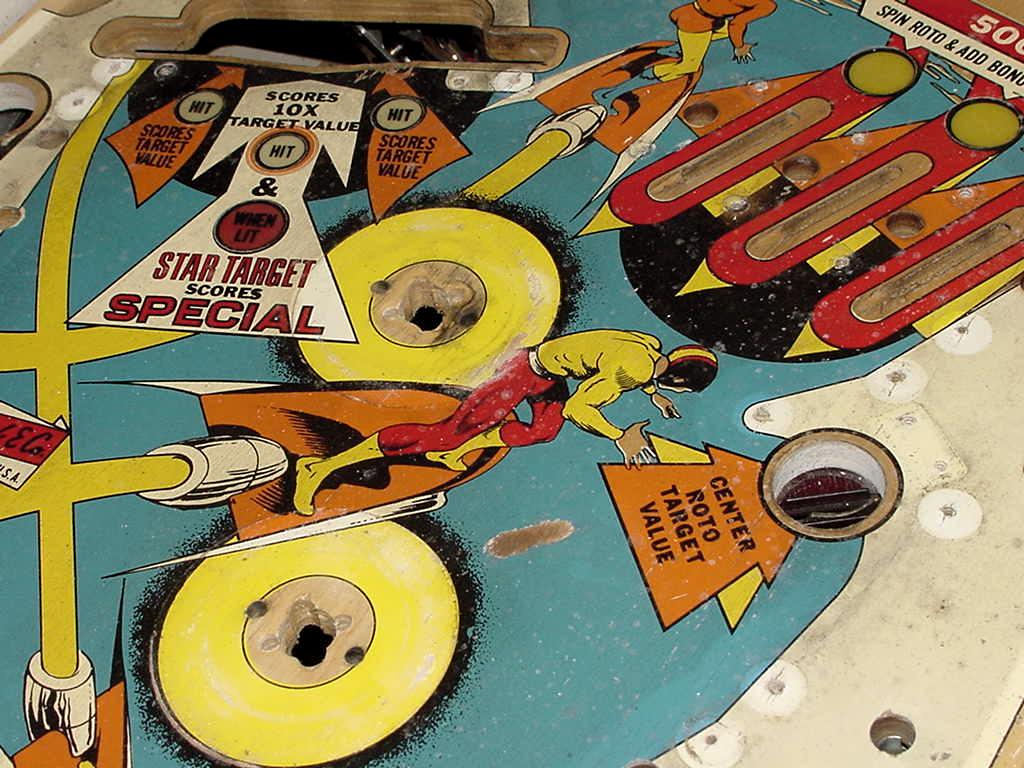
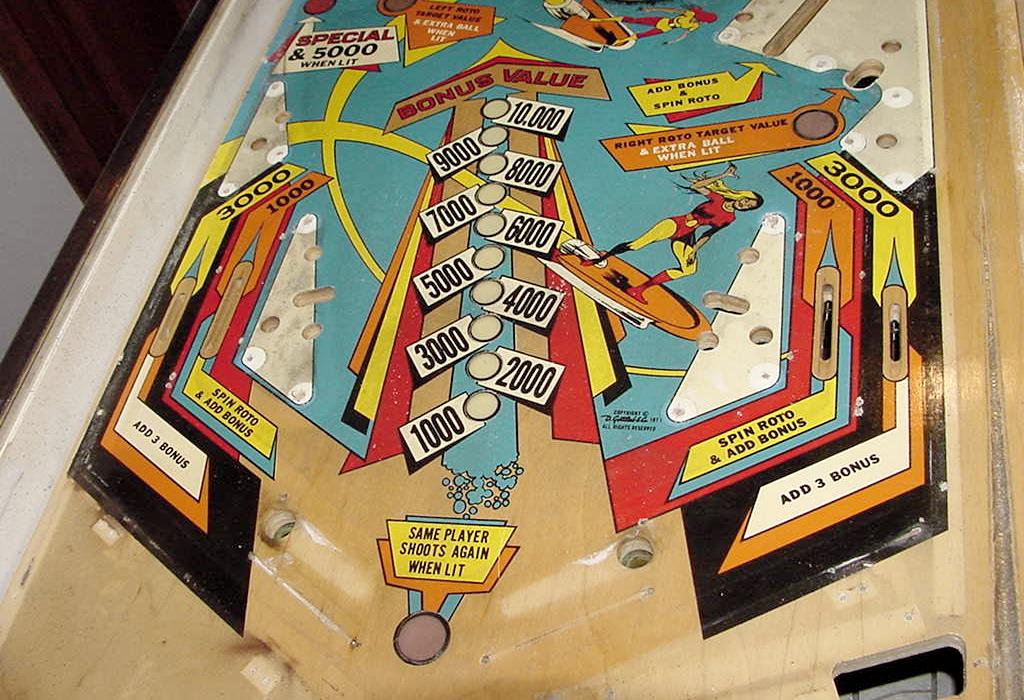
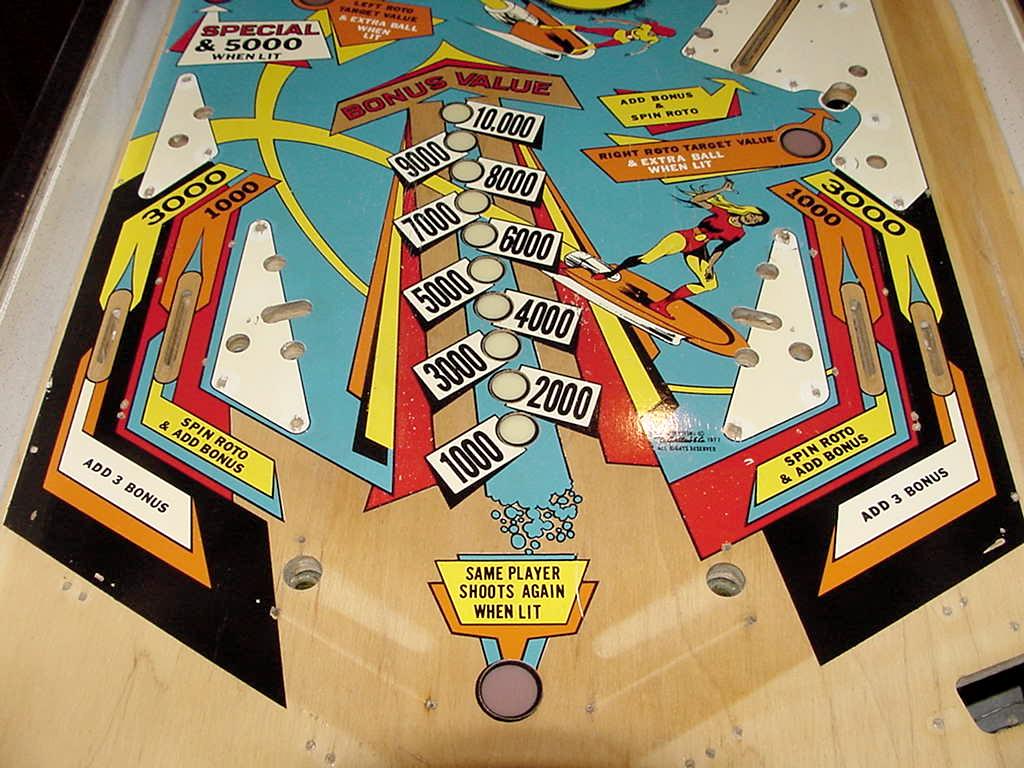
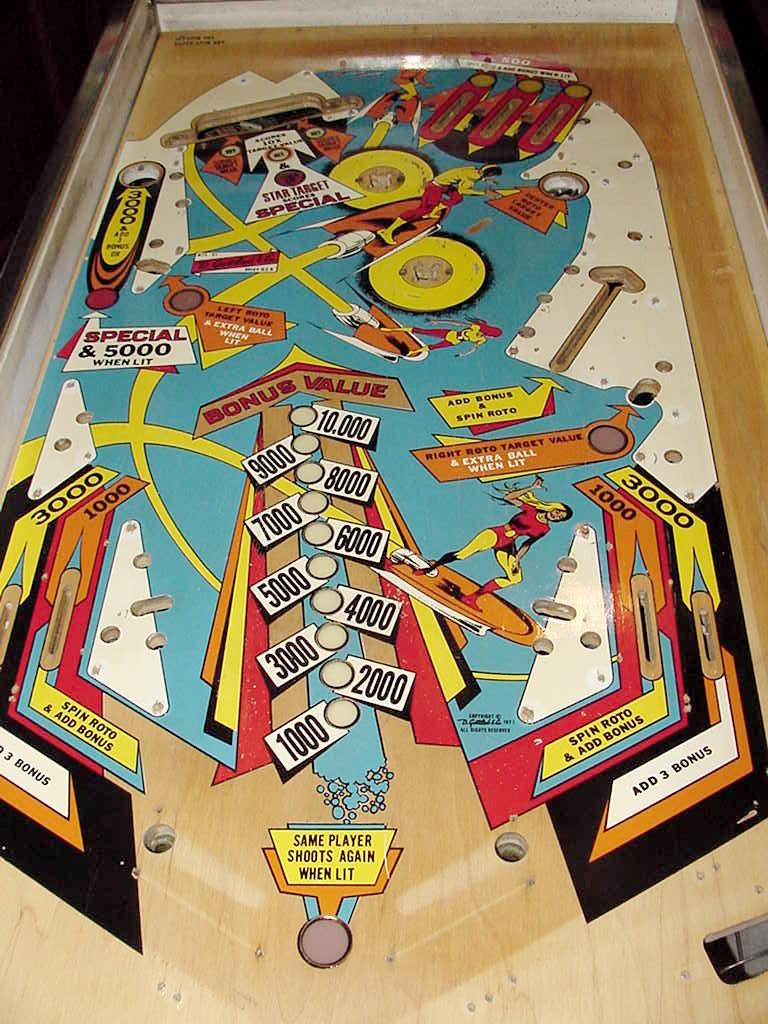
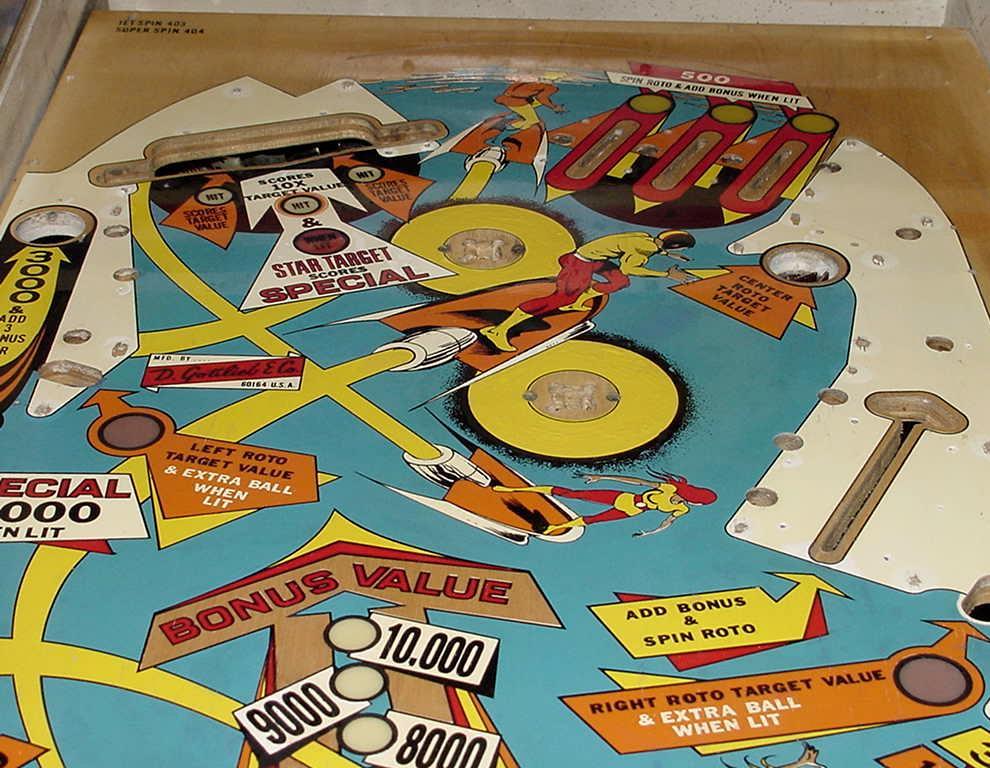
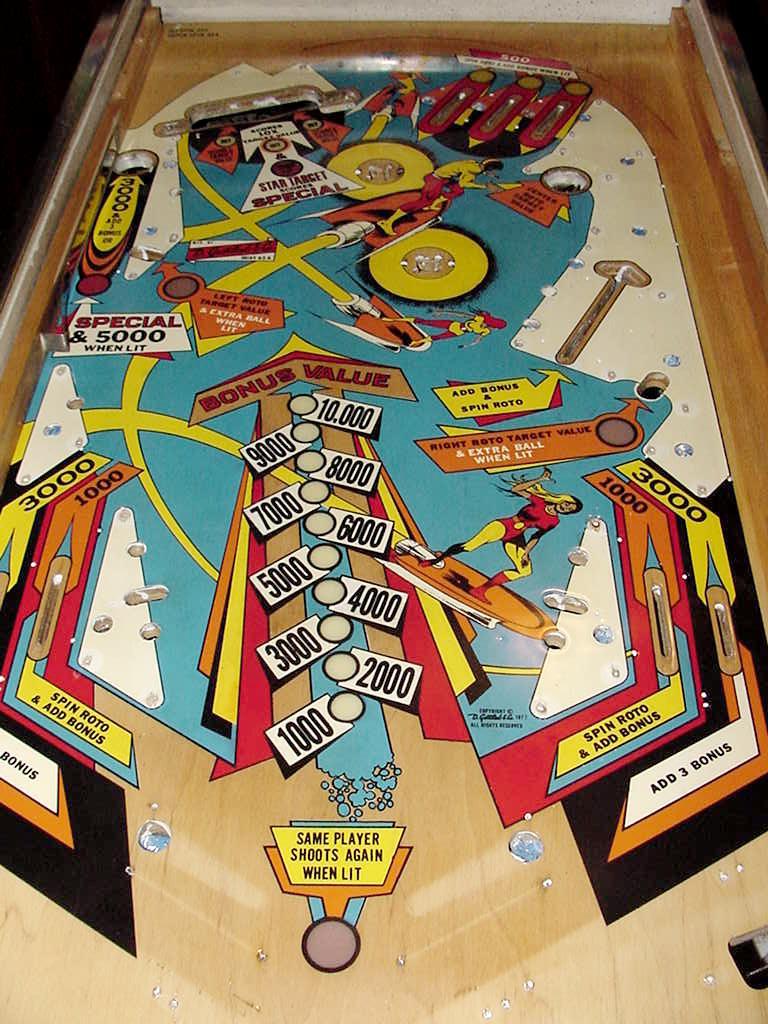
| Below are pictures of the playfield after touch up. For most of the playfield, the standard technique used of over-painting, then wiping the color off with a rag. This leaves paint in the small divots and nicks. For larger areas of wear like the yellow around the pop bumpers, this area was completely repainted. The black keylines around all the lamp inserts were repainted too, by hand, with a small paint brush. |
|
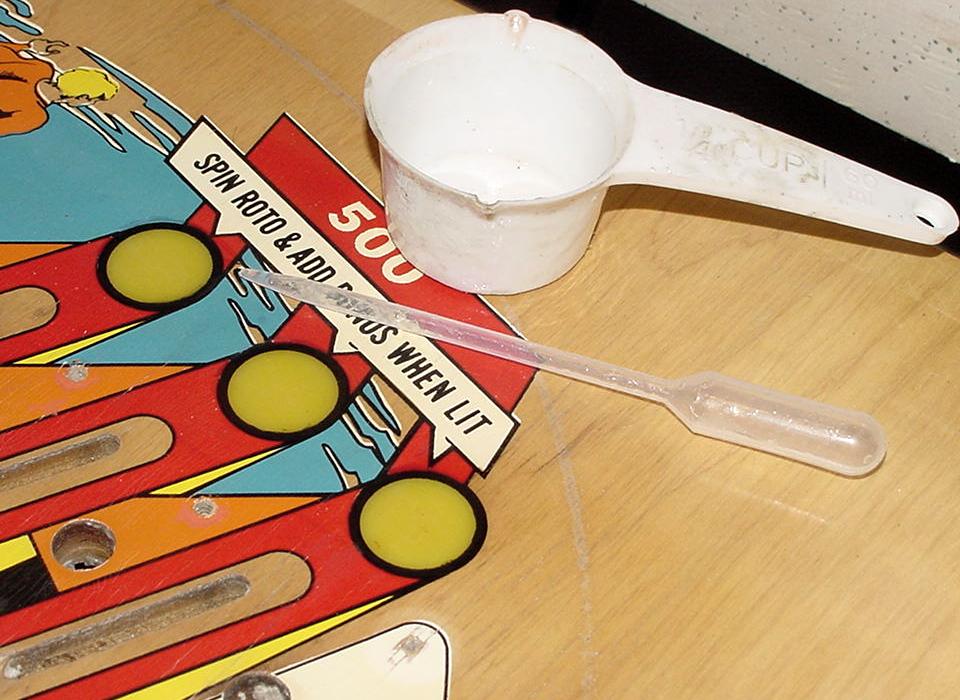
Fixing Cupped Lamp Inserts. Like most playfields from this era, the plastic lamp inserts are cupped. This affects ball play, so it's nice to repair them. Removing all the inserts is just way too much work and time, and is also risky, as damage to the inserts and playfield is possible. Instead I took a less invassive route. First I level the playfield both front and back, and left and right. Then I use automotive urethane clearcoat, and coat the inserts. This puts a layer of clear over the inserts, building the finish, which counteracts the cupped insert. The reason it's important to level the playfield is so the liquid urethane stays put, on top of the insert, until it dries. |
|
The two-part urethane is mixed (with a touch of fisheye remover),
and the applied to each insert using a pipette. The pipette is the
key here, as this makes application of the urethane more controlled.
Another advantage to this idea is the urethane can seal around the edge of the inserts if there is any gap. This will help with the final clearcoating, so there's less finish sink around the inserts. After the insert clearcoat is dry, I do not sand them level. Too much risk damaging surrounding areas. Instead I go right to clearcoating the entire playfield. After the total clearcoat is applied, then I can use a D/A sander over the inserts to level their finish. This seems to work quite well and is less risky. |
|
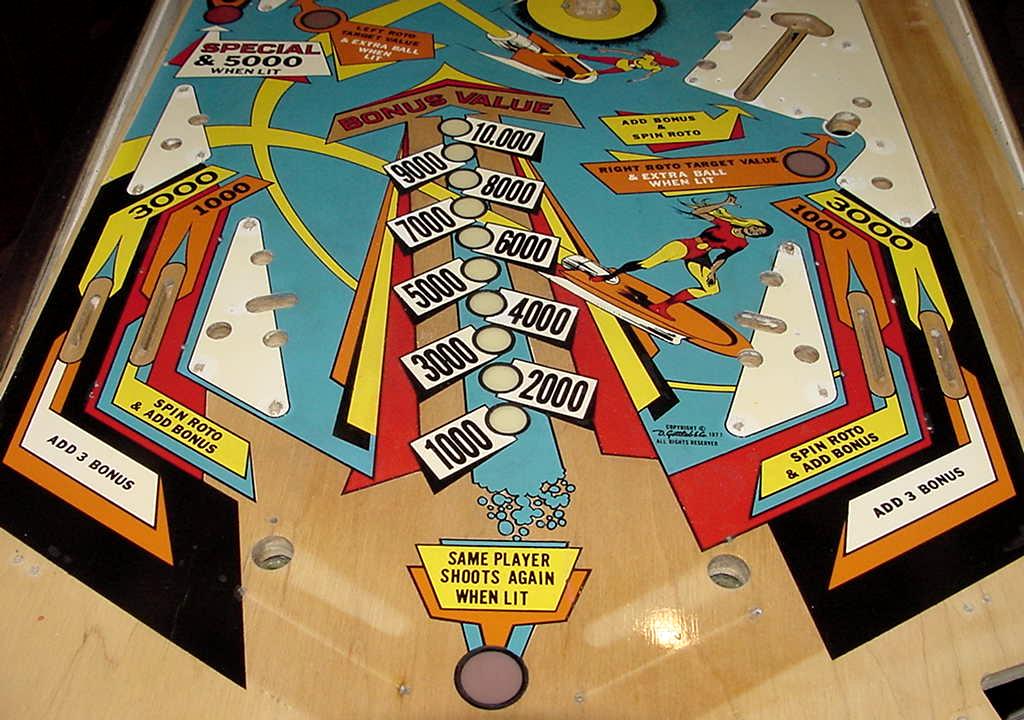
Clearcoat the Playfield. Below are pictures of the playfield after clearcoating, and with the side rails and new pop bumper mylars installed. The playfield is rubbed out (using a power buffer), and is ready for reassembly. |
|
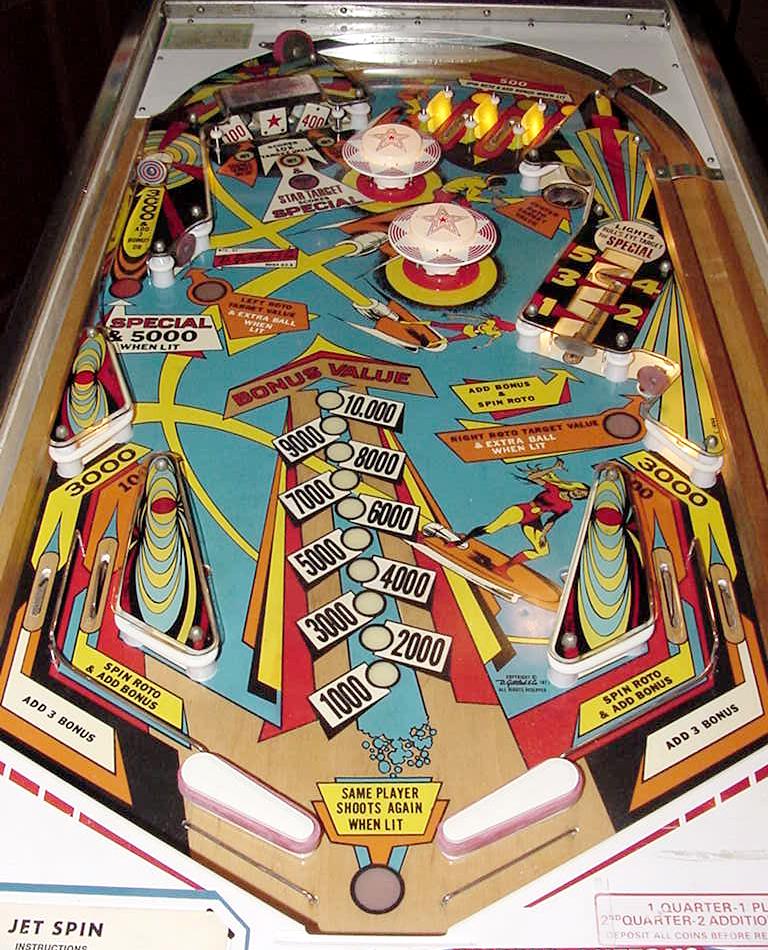
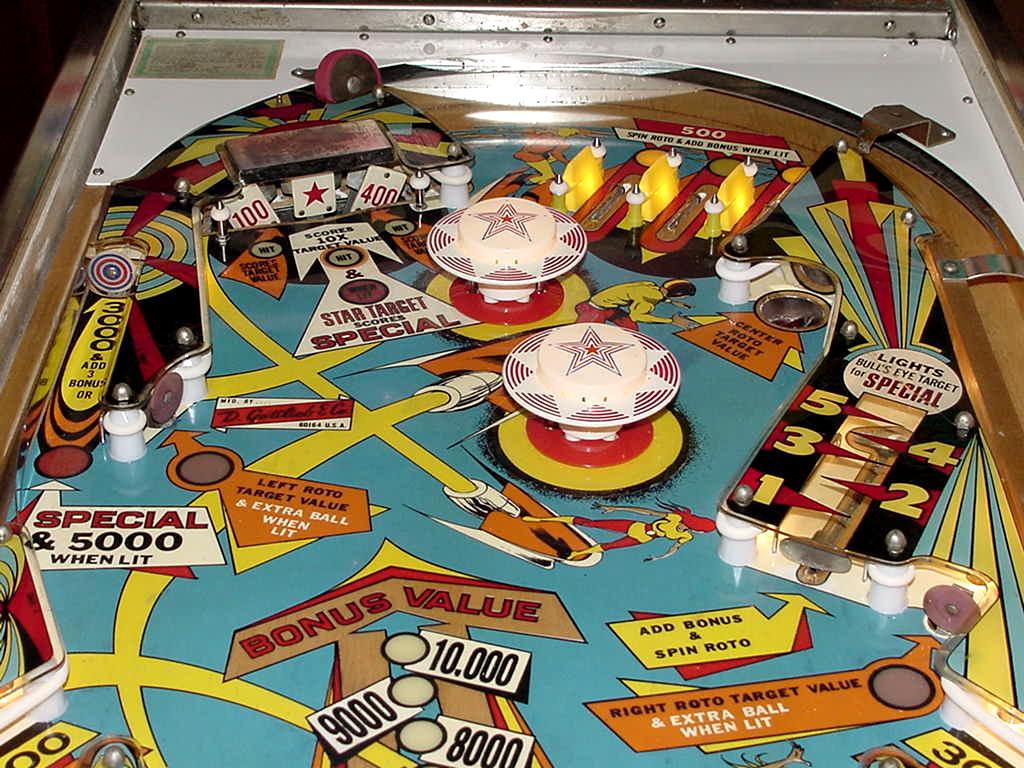
Here's some pictures after the playfield is all assembled. |
|
Conclusion. Though the final product of the playfield work came out fine, I'm still not 100% sure I like Gottliet Jetspin that much. I guess I'm more of a drop target guy. But the roto-target, vari-target, and that tricky left lane shot do have their fans. I guess I'll have to play the Gottlieb Jet Spin a bit more to get some better data... More information on clearcoating can be seen in the "This Old Pinball" videos TOP #1,3,4,7. This shows the whole procedure of touching up and clearcoating a pinball playfields. Also see Pinball Restoration Guide, part two and the Gottlieb Quickdraw playfield restoration and Gottlieb 2001 playfield restoration web pages for more info.
* Go to Pin Fix-It Index |