
(Example used: 1975 Gottlieb Gold Strike) by cfh@provide.net, 02/28/08. Copyright 2008 all rights reserved. For more general information on Gottlieb Gold Strike pinball, please go here. This document for more hardcore pinball restorers, and is part of the Pinball Restoration document. Update of this document are available at http://pinrepair.com.
I bought this game from a guy in New York, and a friend of mine (Joe) picked up the game. Joe met him at a Syracuse Indian casino, seller said he was taking the money from the game and playing some cards (seller was from Albany). I hope he won, because I sure felt like I had won. The 1975 Gottlieb Gold Strike pinball is not that easy of game to find. Gold Strike is the AAB (add-a-ball) version of Gottlieb Eldorado (replay). Eldorado is a lot easier to find as they made more. Gold Strike was only sold in certain areas (like NY and WI). But anyway, I dig the single player drop target Gottlieb wedgehead pinballs from this era, but I'm normally not an Add-a-Ball guy. The reason? After I'm done with one of these, the game plays so fast and nice, it's too easy to beat the game and get a bunch of extra balls. (Heck the game never ends.) But since I don't have a Gottlieb Eldorado (the replay version of Gottlieb Gold Strike), I'm sticking with what I have. For the purpose of this document, only the playfield paint restoration will be covered. Note this isn't the only way to do this, but in the end it worked out pretty well. My objective was to have a playfield that did not look like it was touched up and clearcoated (well, didn't scream it at least). This is unlike say the work that professional restorers do (like HSA and Playfield Renovations) - these just scream "clearcoated", a look which I really don't like, as it looks out of place and stupid on older EM games. The objective is to not make the playfield look "unnatural" in a 30+ year old game. Note the pictures are very big in this document, bigger than in the normal repair guides.
|
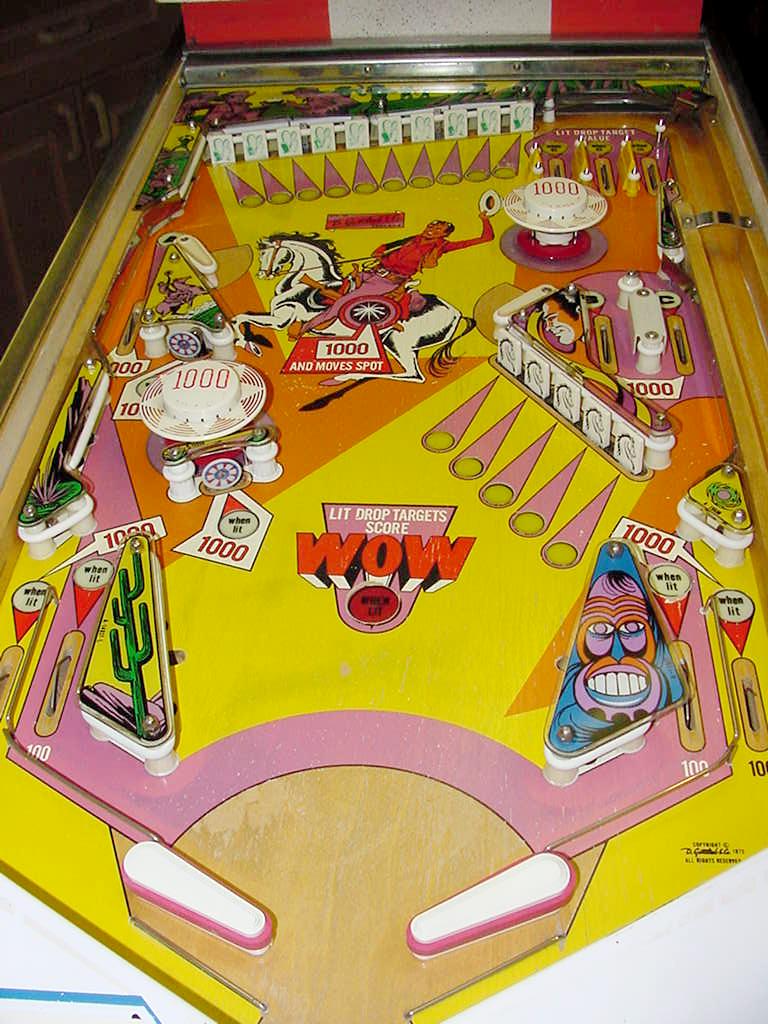
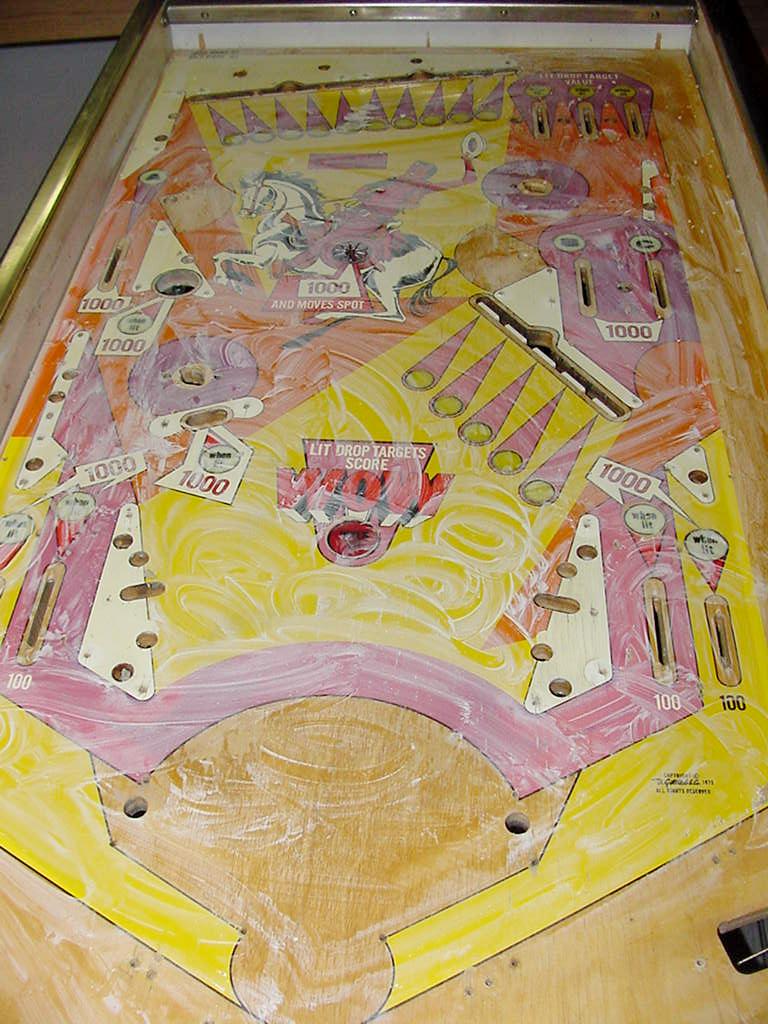
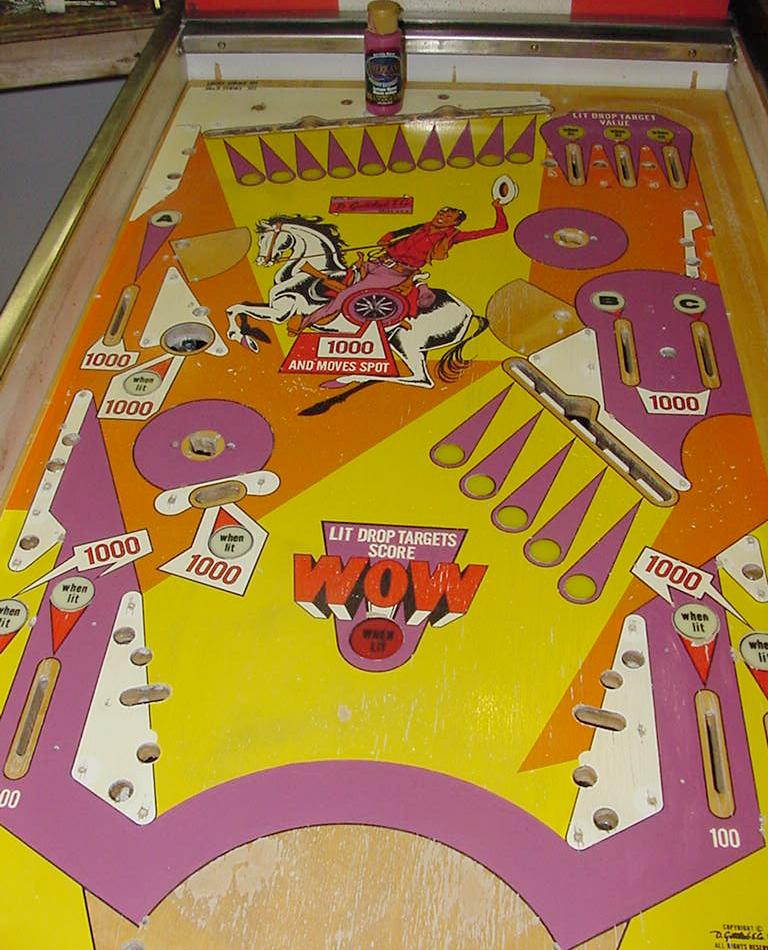
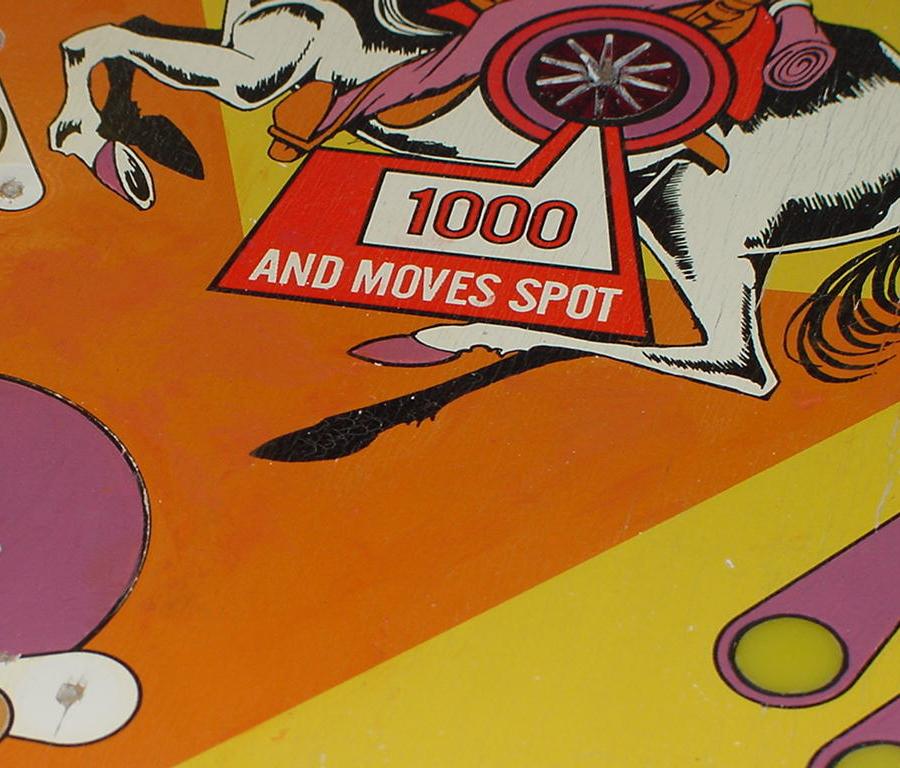
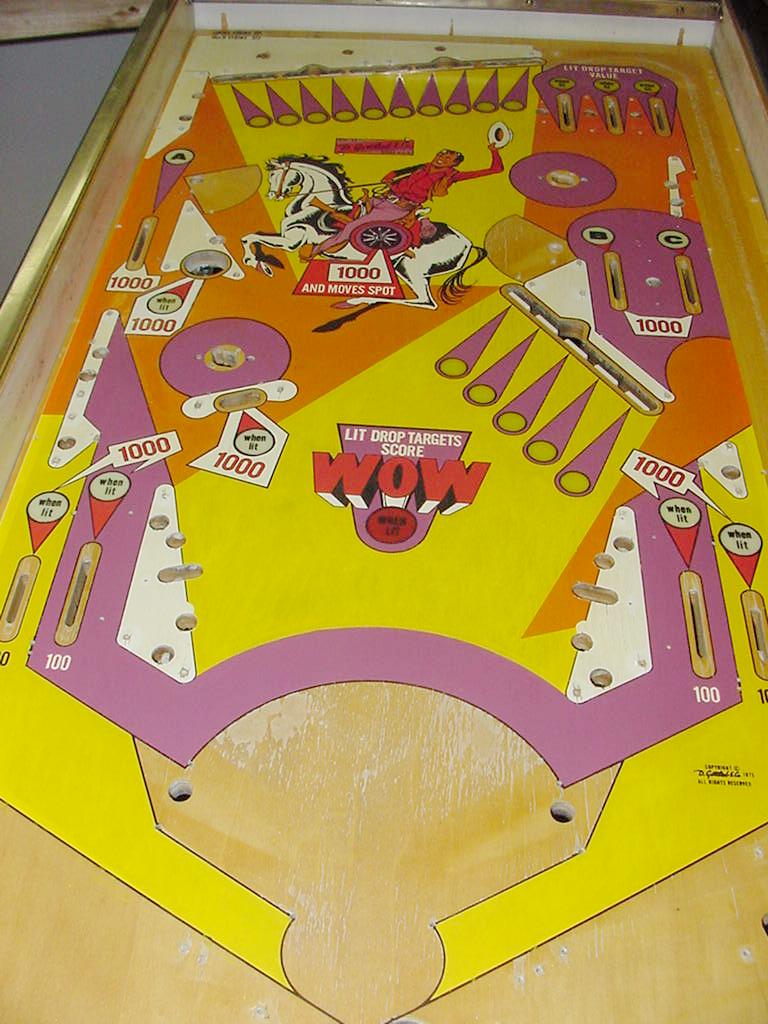
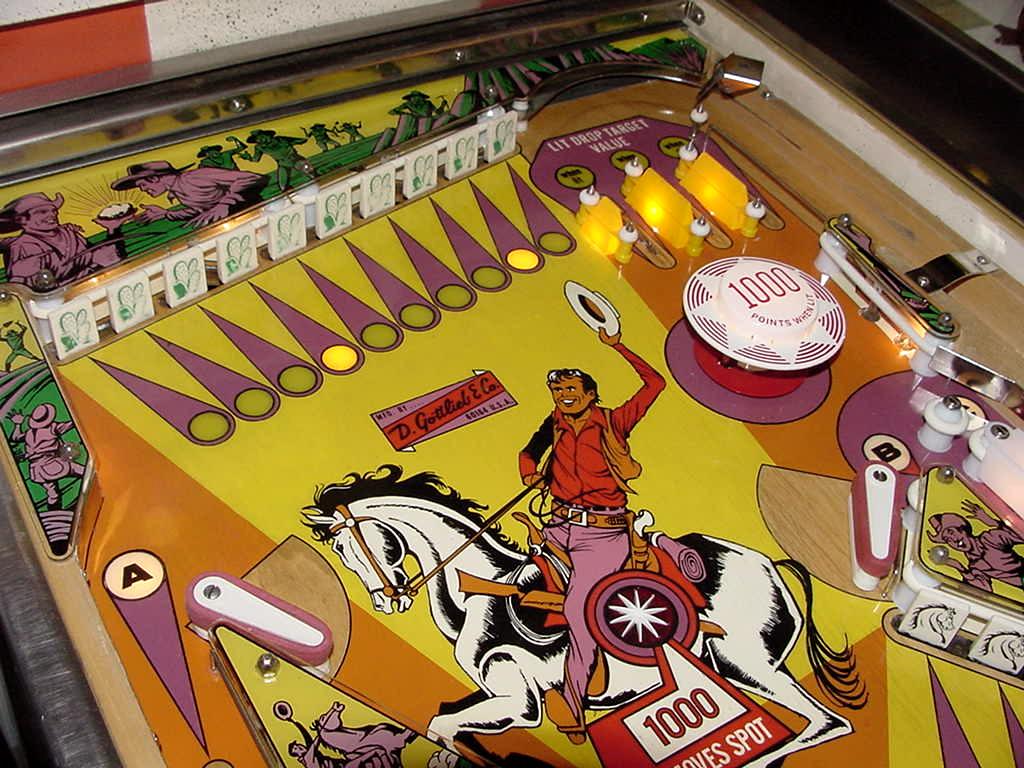
| Here's the playfield as I received it. I'm kind of wondering if I should go through all this effort, because really the playfield isn't that worn. It's starting to get worn (look around the light inserts), but it's not too bad really. Should I proceed with the touchup and clearcoat? Hmmm, I'm not sure. I mean i *want* to do that, as I'm a nut about games playing great (and a clearcoated playfield does play great). But frankly this game plays pretty good now. What to do?? |

| Here's the playfield (all parts removed) after I attacked it with alcohol and Melamine foam (Magic Eraser) for a good cleaning. After that scrubbing I wiped the white haze off with Naptha, and then did a polish with Novus2. This give me a good idea of what I'm up against as far as touchups. |
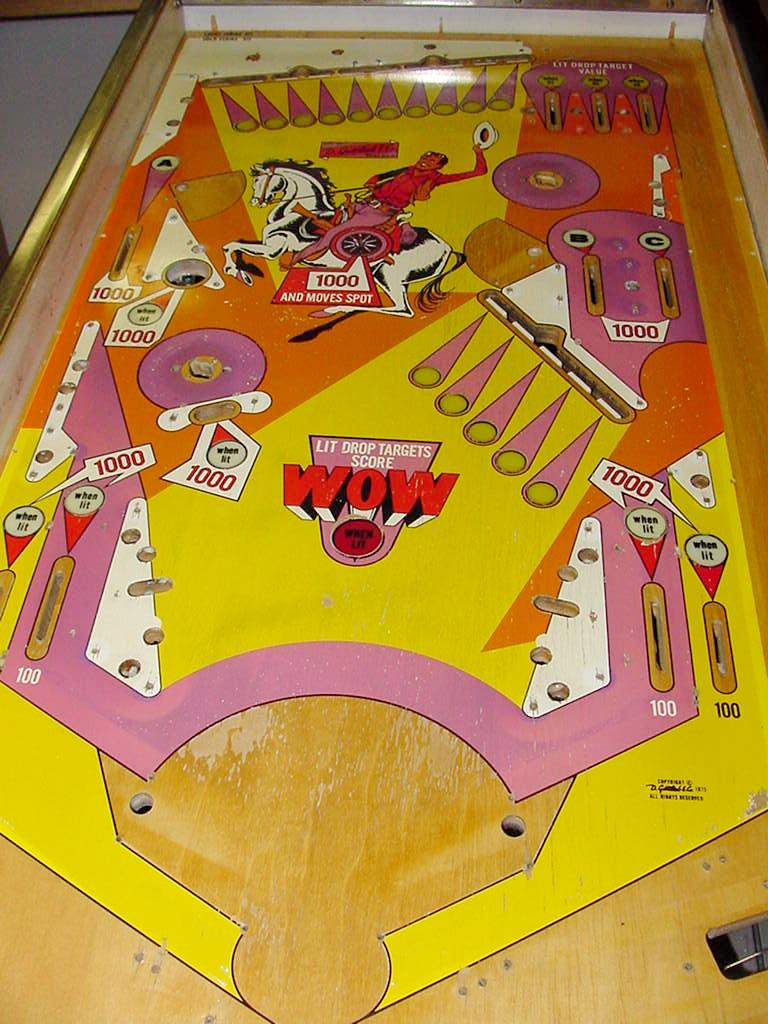
| The key thing I noticed was the amount of fade in the yellow, orange and purple. (I'm sure the red faded too, but I had no protected red areas to compare.) Obviously I'll match the touchup tints based on the unfaded colors. |
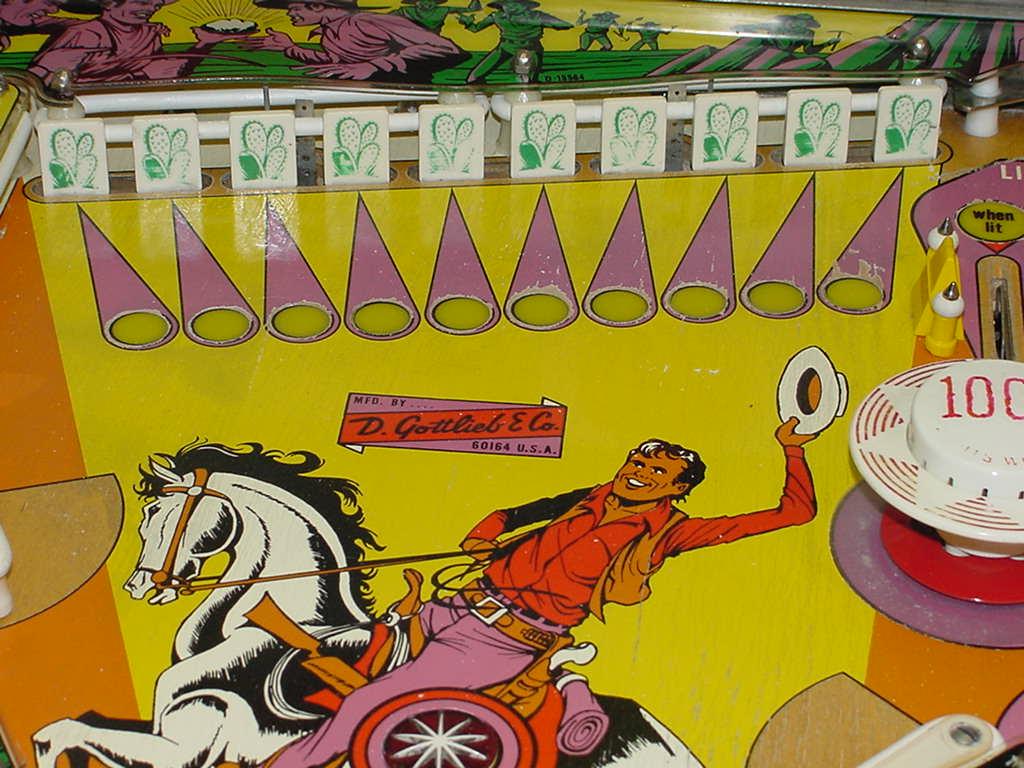
| Gottlieb Gold Strike has an upper "mini ball arch" at the top right of the playfield. And the ball had dug a groove in the finish and wood in that area. I scrubed that area well with Melamine foam, and then sanded it with 320/600 grit sandpaper to smooth it out. It's important to do that so there's no ridge in the ball track. |
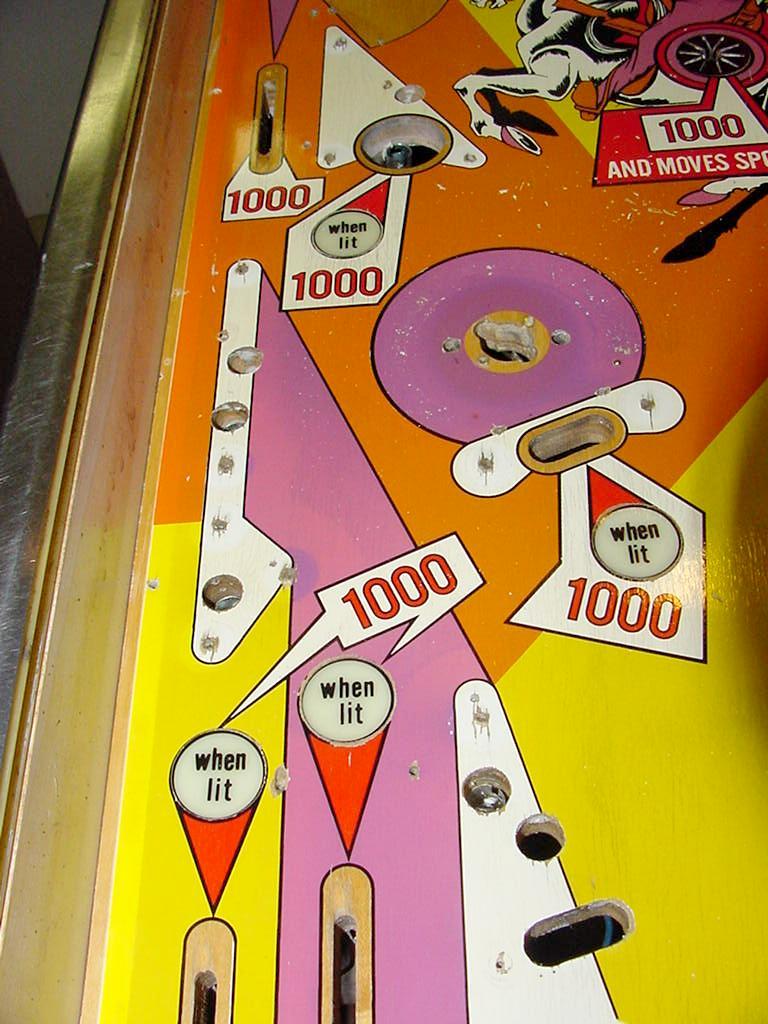
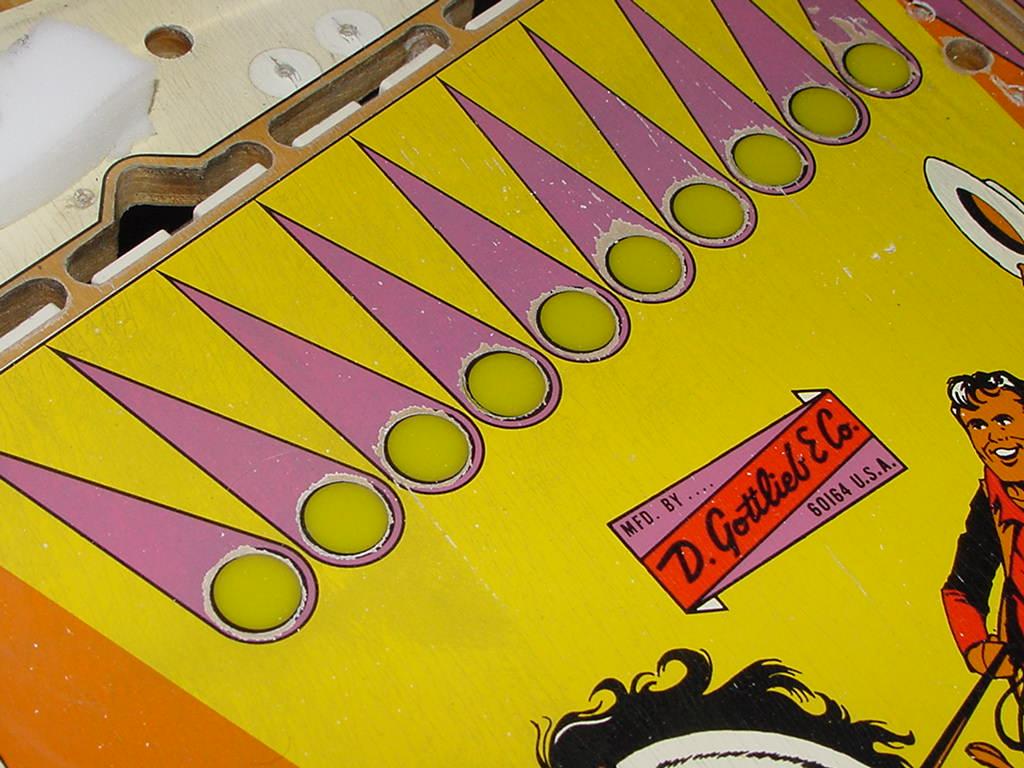
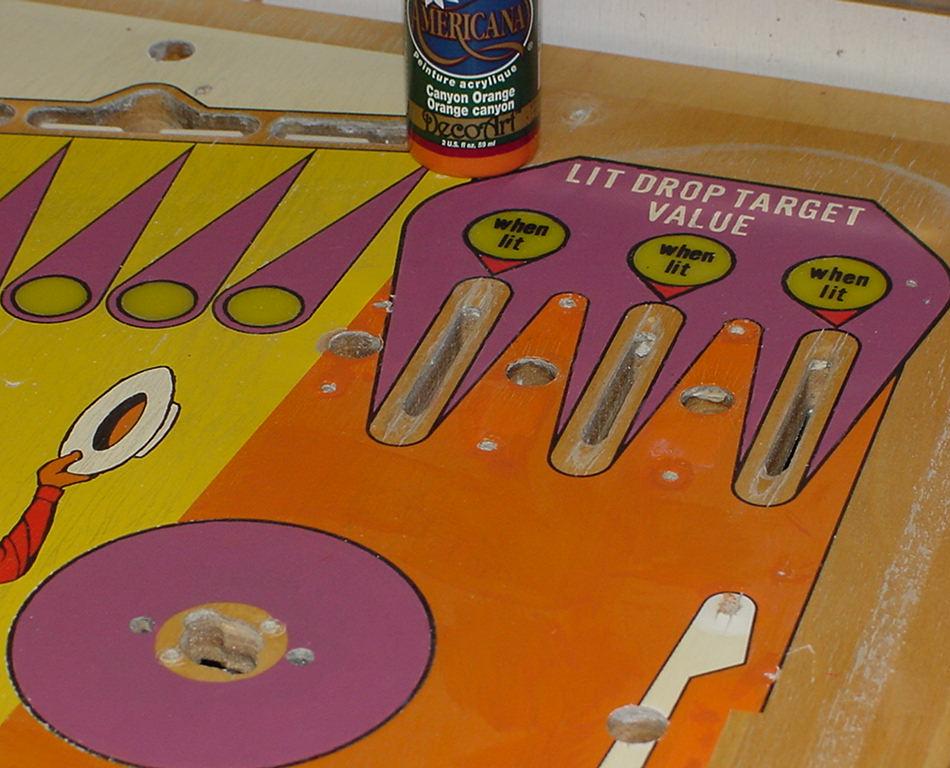
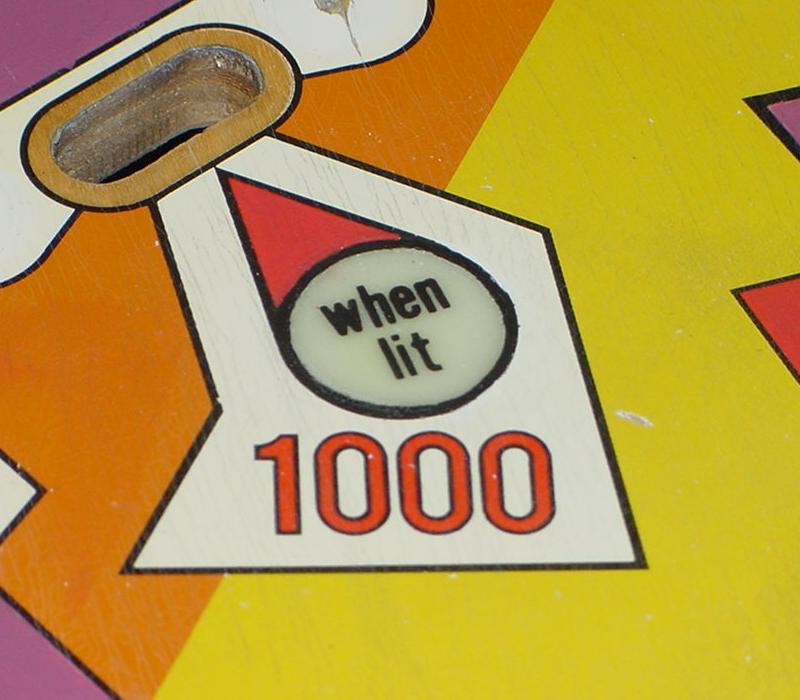
| Here's one of the principle areas that I really need to touchup. The playfield wear around the inserts is the problem. Interestingly the inserts themselves have not shrunk and have not lowered themselves to justify reseting them. |
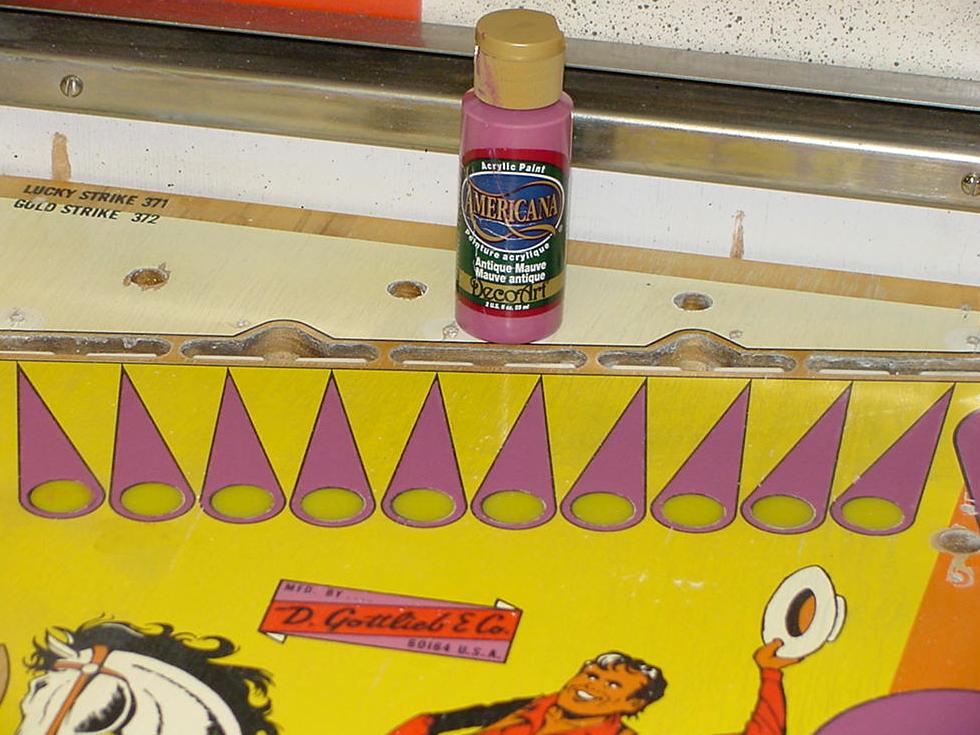
| Now the purple is all touched up using water-based acrylic paint from Americana. This required two coats to get good coverage. (The two hardest colors to touchup on this playfield are the purple and the black key-lines.) Notice I'm trying to work "inside-out", starting with the most interior color and working out. I overpaint the purple a bit because the black lines will then go over the purple's edge giving a clean look. Next I'll do the red, then the yellow, then the orange. If I'm not sick of all this painting, I'll do the white areas too. After that, last comes the black key lines around all the inserts. Those will be the hardest to paint. |
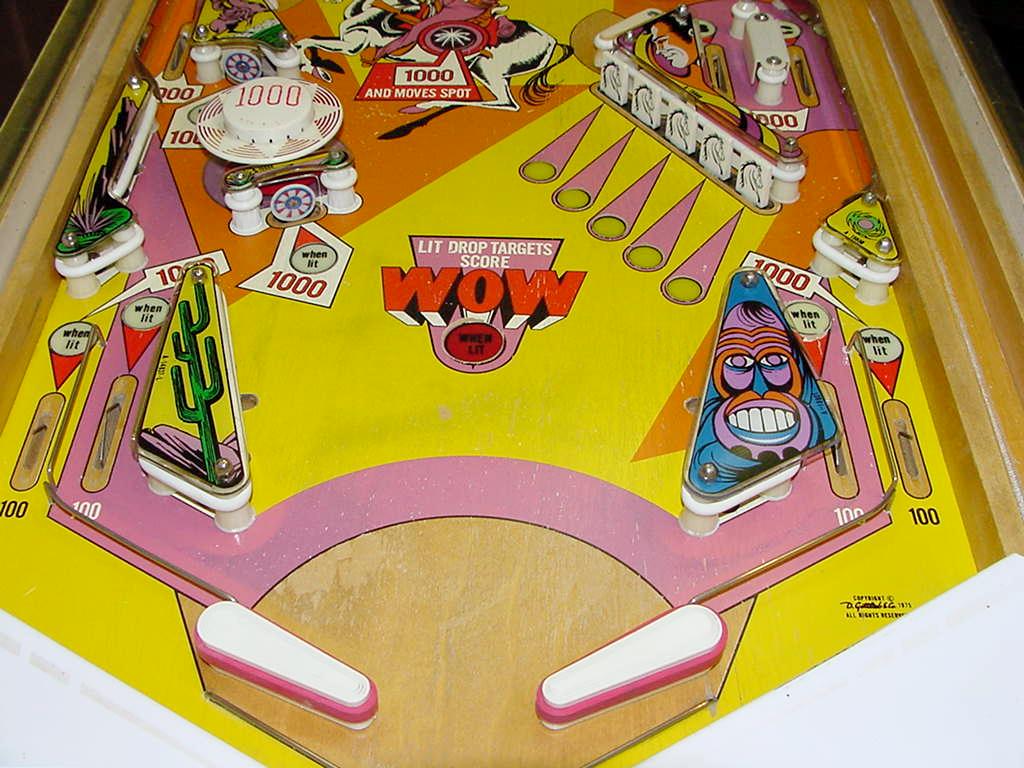
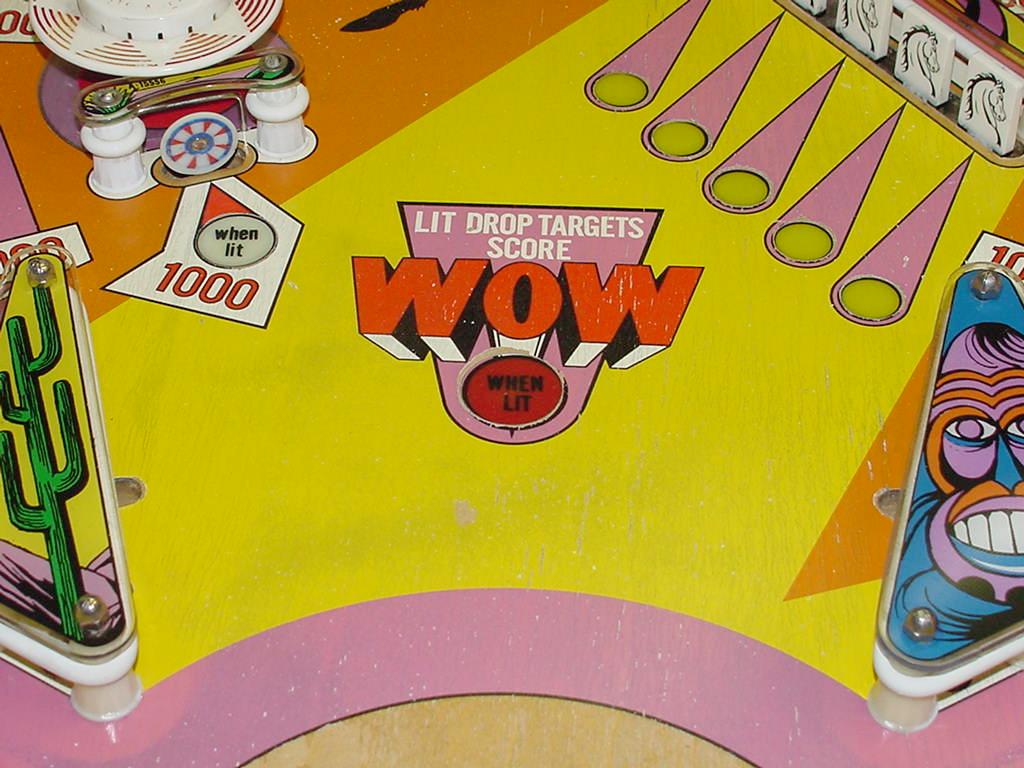
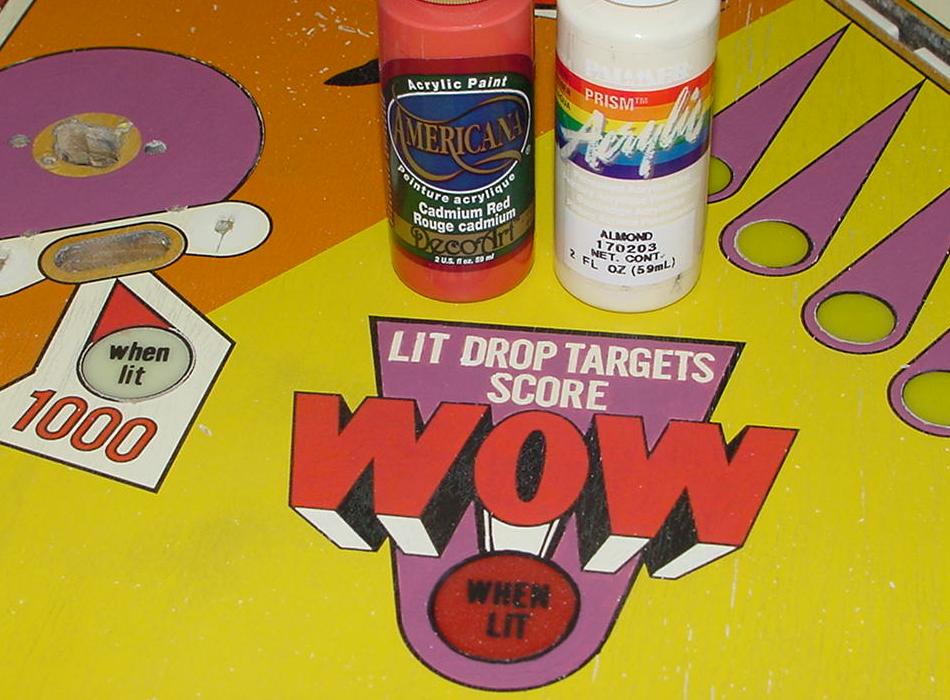
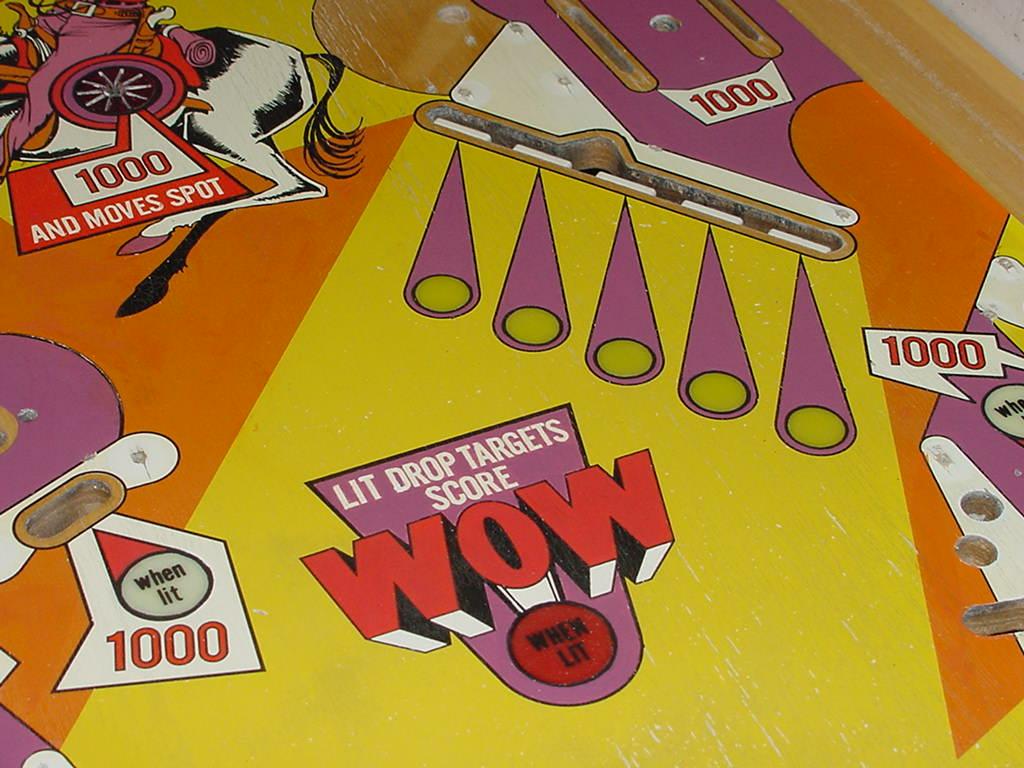
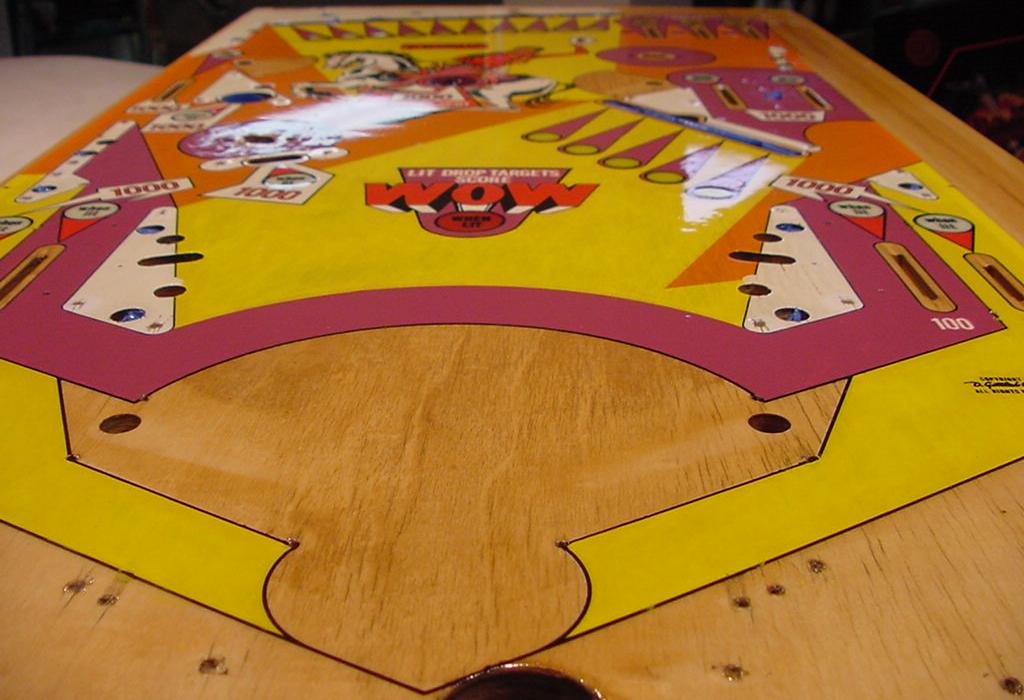
| Next I did all the red touchups, and while I was working on the very center of the playfield, I figured I should just finish the "WOW" section (remember, work inside to outside). Came out pretty good. Did the black key lines by hand with a very small brush. I may be able to "paint and smear" the orange sections of the playfield (so I don't have to paint the *entire* orange sections). But the yellows, as can be seen here, are going to need a wholesale repaint. I'm not looking forward to that. |
| Orange touchup is next. Hard to get a good match on this "burnt orange" for some reason. I wanted a good match so I could do the "smear and wipe" technique. Below is a picture of that. Remember, the flash on the digital camera brings out *a lot* more flaws than you would see with the eye. That's good, it shows just how bad the color match may be. The color is good, just have to clean up the area a bit more to make it look less smeared. I don't think i'll have to repaint the entire orange sections. Compare the orange below to the orange in the picture above - I'm trying to get rid of the white wear specs seen in the picture above. Looks like it's working well. |
|
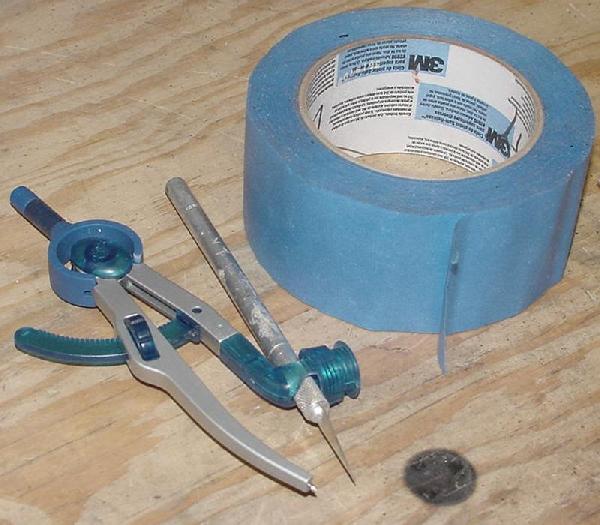
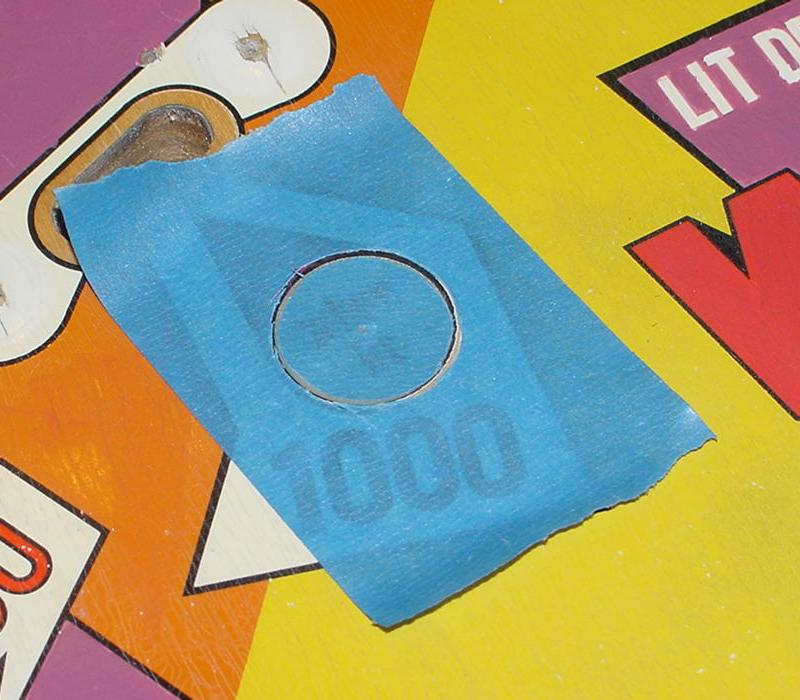
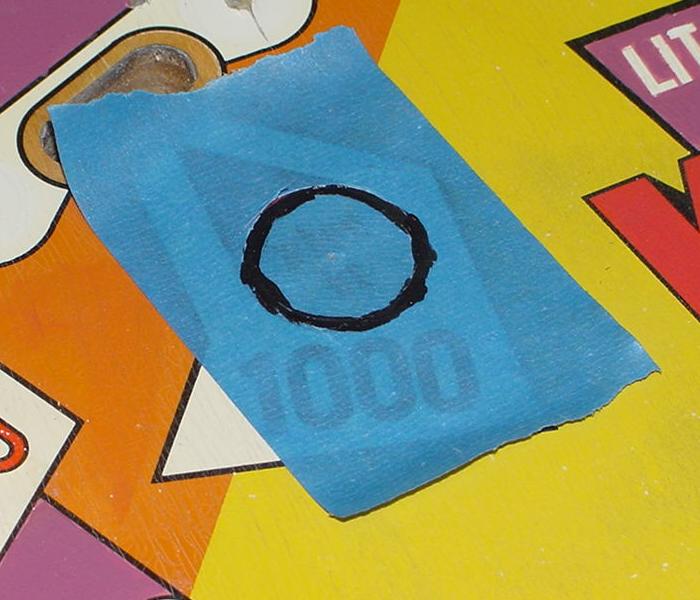
Next up was to do the lamp insert black "key lines".
Normally I do this by hand, but this time I tried a
circle cutter and some blue painter's masking tape.
Used an exacto knife in the compass (circle cutter),
and made and inside and outside circle from the
blue tape. Then just painted the black on the exposed
area to give my round key line.
This didn't work as well as I would have hoped. Cutting the blue tape with the compass was a lot more difficult that it appears. And the bleed under the tape was more than I had hoped. But after the black dried for a few minutes, I used an exacto knife and by hand cleaned up the outside and inside edges of the newly painted black key line. In the end I just painted all the black insert key lines by hand. It worked out easier and faster, and basically gave the same results. |
|
Ok all done with touch-ups. The yellow parts were mass painted, and all the black key-lines finished. Overall, touch-ups came out pretty good. I'm not completely happy with the yellow, as the Americana "Bright Yellow" is not as opaque as I would have liked. There's just not enough pigment in the paint (typical of some of the lighter colors like yellow). A more expensive artist quality acrylic would be better. But the Americana brand is about as good as it gets for "Micheals", and they have it in a zillion different colors (which I own *every* Americana color they sell, all 200 of them!) On the yellow and red colors, I should have painted these areas first with white paint, and then painted the yellow and red over the white. So now I'm ready to clearcoat the playfield. |
|
Here's the playfield after shooting 4 coats of clear
automotive urethane. I love this stuff, so easy to work
with. Just mix the hardner and some fisheye-remover,
and spray. Put down four coats in about 20 minutes
(two coats, 10 minutes flash time, another two coats).
Wait 24 hours, then can sand and polish and re-assemble
the playfield. This is so unlike say Varathane, which requires
so many steps and wait time and sanding and blah blah blah.
Varathane is just so rookie-like. This auto urethane is like GO
and get the job done! I like it. It also dries very hard, very quick, and
durable.
Next I will DA (dual action) sand the playfield in 24 hours with 600 grit. Then hand sand with 1200 and 2000 grit, then polish with Novus2. Four coats of clear is plenty by the way, unless your playfield is really messed up and you need to sand down the clear to fill/level. I don't sand between those initial 4 coats either. Again if the playfield is really messed up, I will spray the initial 4 coats, wait 12 hours, DA sand with 600 grit (or even 400 grit), and spray another 2 coats (but it's pretty rare that I do this on an EM playfield, as again I do not want that "mirror" thick look). I am using PPG's ShopLine JC661 for the clear (which is the same as PPG's Omni AU, and is pretty inexpensive compared to the "glamour" clears like Dupont's ChromaClear 7600s). |
|
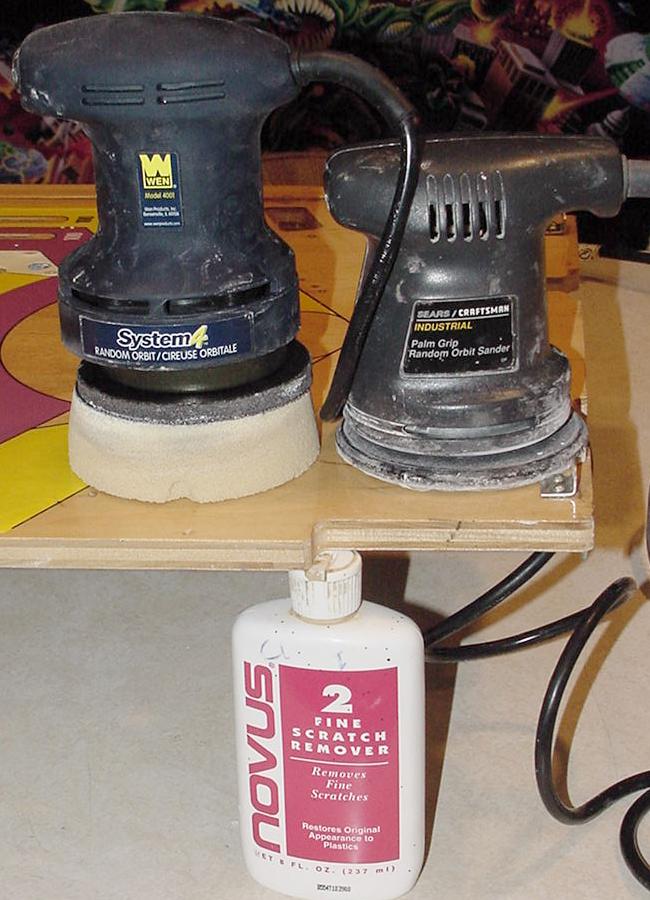
Below are the tools I use for the rub-out.
First I use the DA (dual action) electric palm
sander (on right) with 600 grit DRY. Basically
level the whole playfield (but don't go nuts, as
there's only 4 coats of clear). After that I use,
by hand, 1200 grit wet (with liquid soap and water),
and then 2000 grit wet by hand. Next I move to the
DA polisher (on left) and Novus2. I don't polish
any more than that. I do not want a "mirror" shine,
just a nice gloss. I'm trying to get a certain "look",
one that doesn't scream "clearcoat", and using this
technique does it for me.
Frankly, usually I don't use the DA Polisher every time, I often just use Novus2 by hand instead. The DA Polisher is nice and quick, but you don't need it. The DA Sander on the other hand is absolutely required. This auto clear urethane is very hard stuff (especially if you let it dry more than 24 hours). And block sanding by hand just takes forever. So yes the DA sander is necessary if you want a good outcome and less-tired hands/arms. |
|
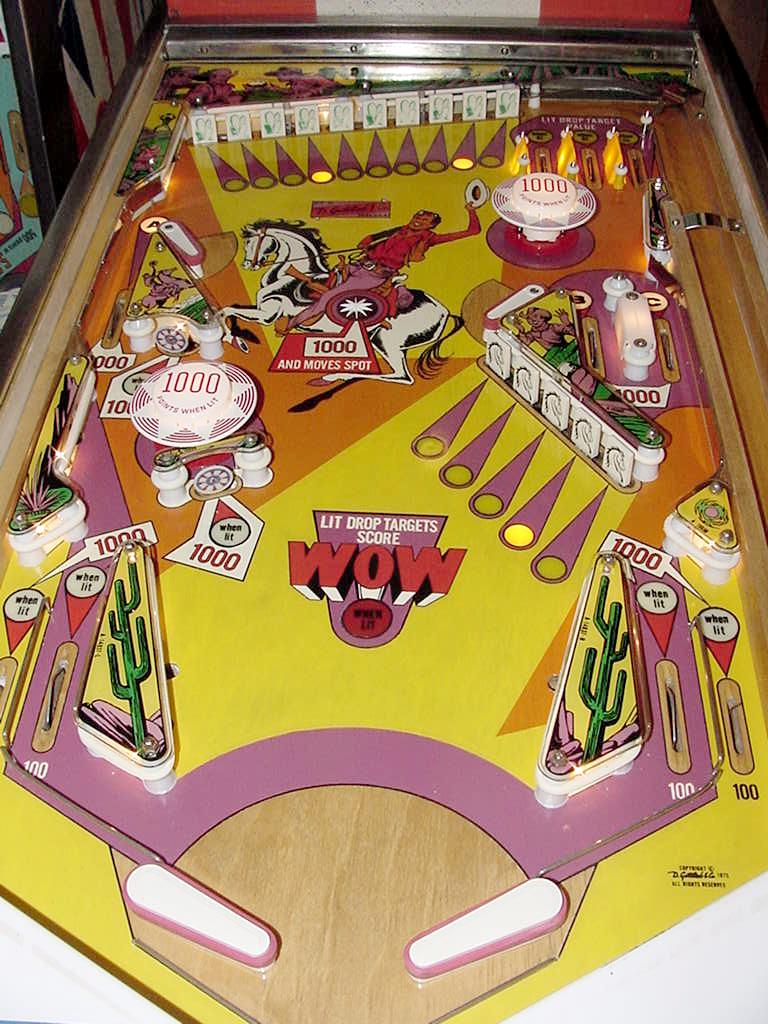
Conclusion. Overall I was pretty happy with the outcome of the Gottlieb Gold Strike pinball playfield. Though not a perfect job, it was satisfying. And the game play is very good, as the playfield surface is very smooth. |


|
More information on clearcoating can be seen in the
"This Old Pinball"
videos TOP #1,3,4,7. This shows the whole procedure
of touching up and clearcoating a pinball playfields. Also see
Pinball Restoration Guide, part two and the
Gottlieb 2001 playfield restoration and
Gottlieb Quick Draw playfield restoration web pages for more info.
* Go to Pin Fix-It Index |